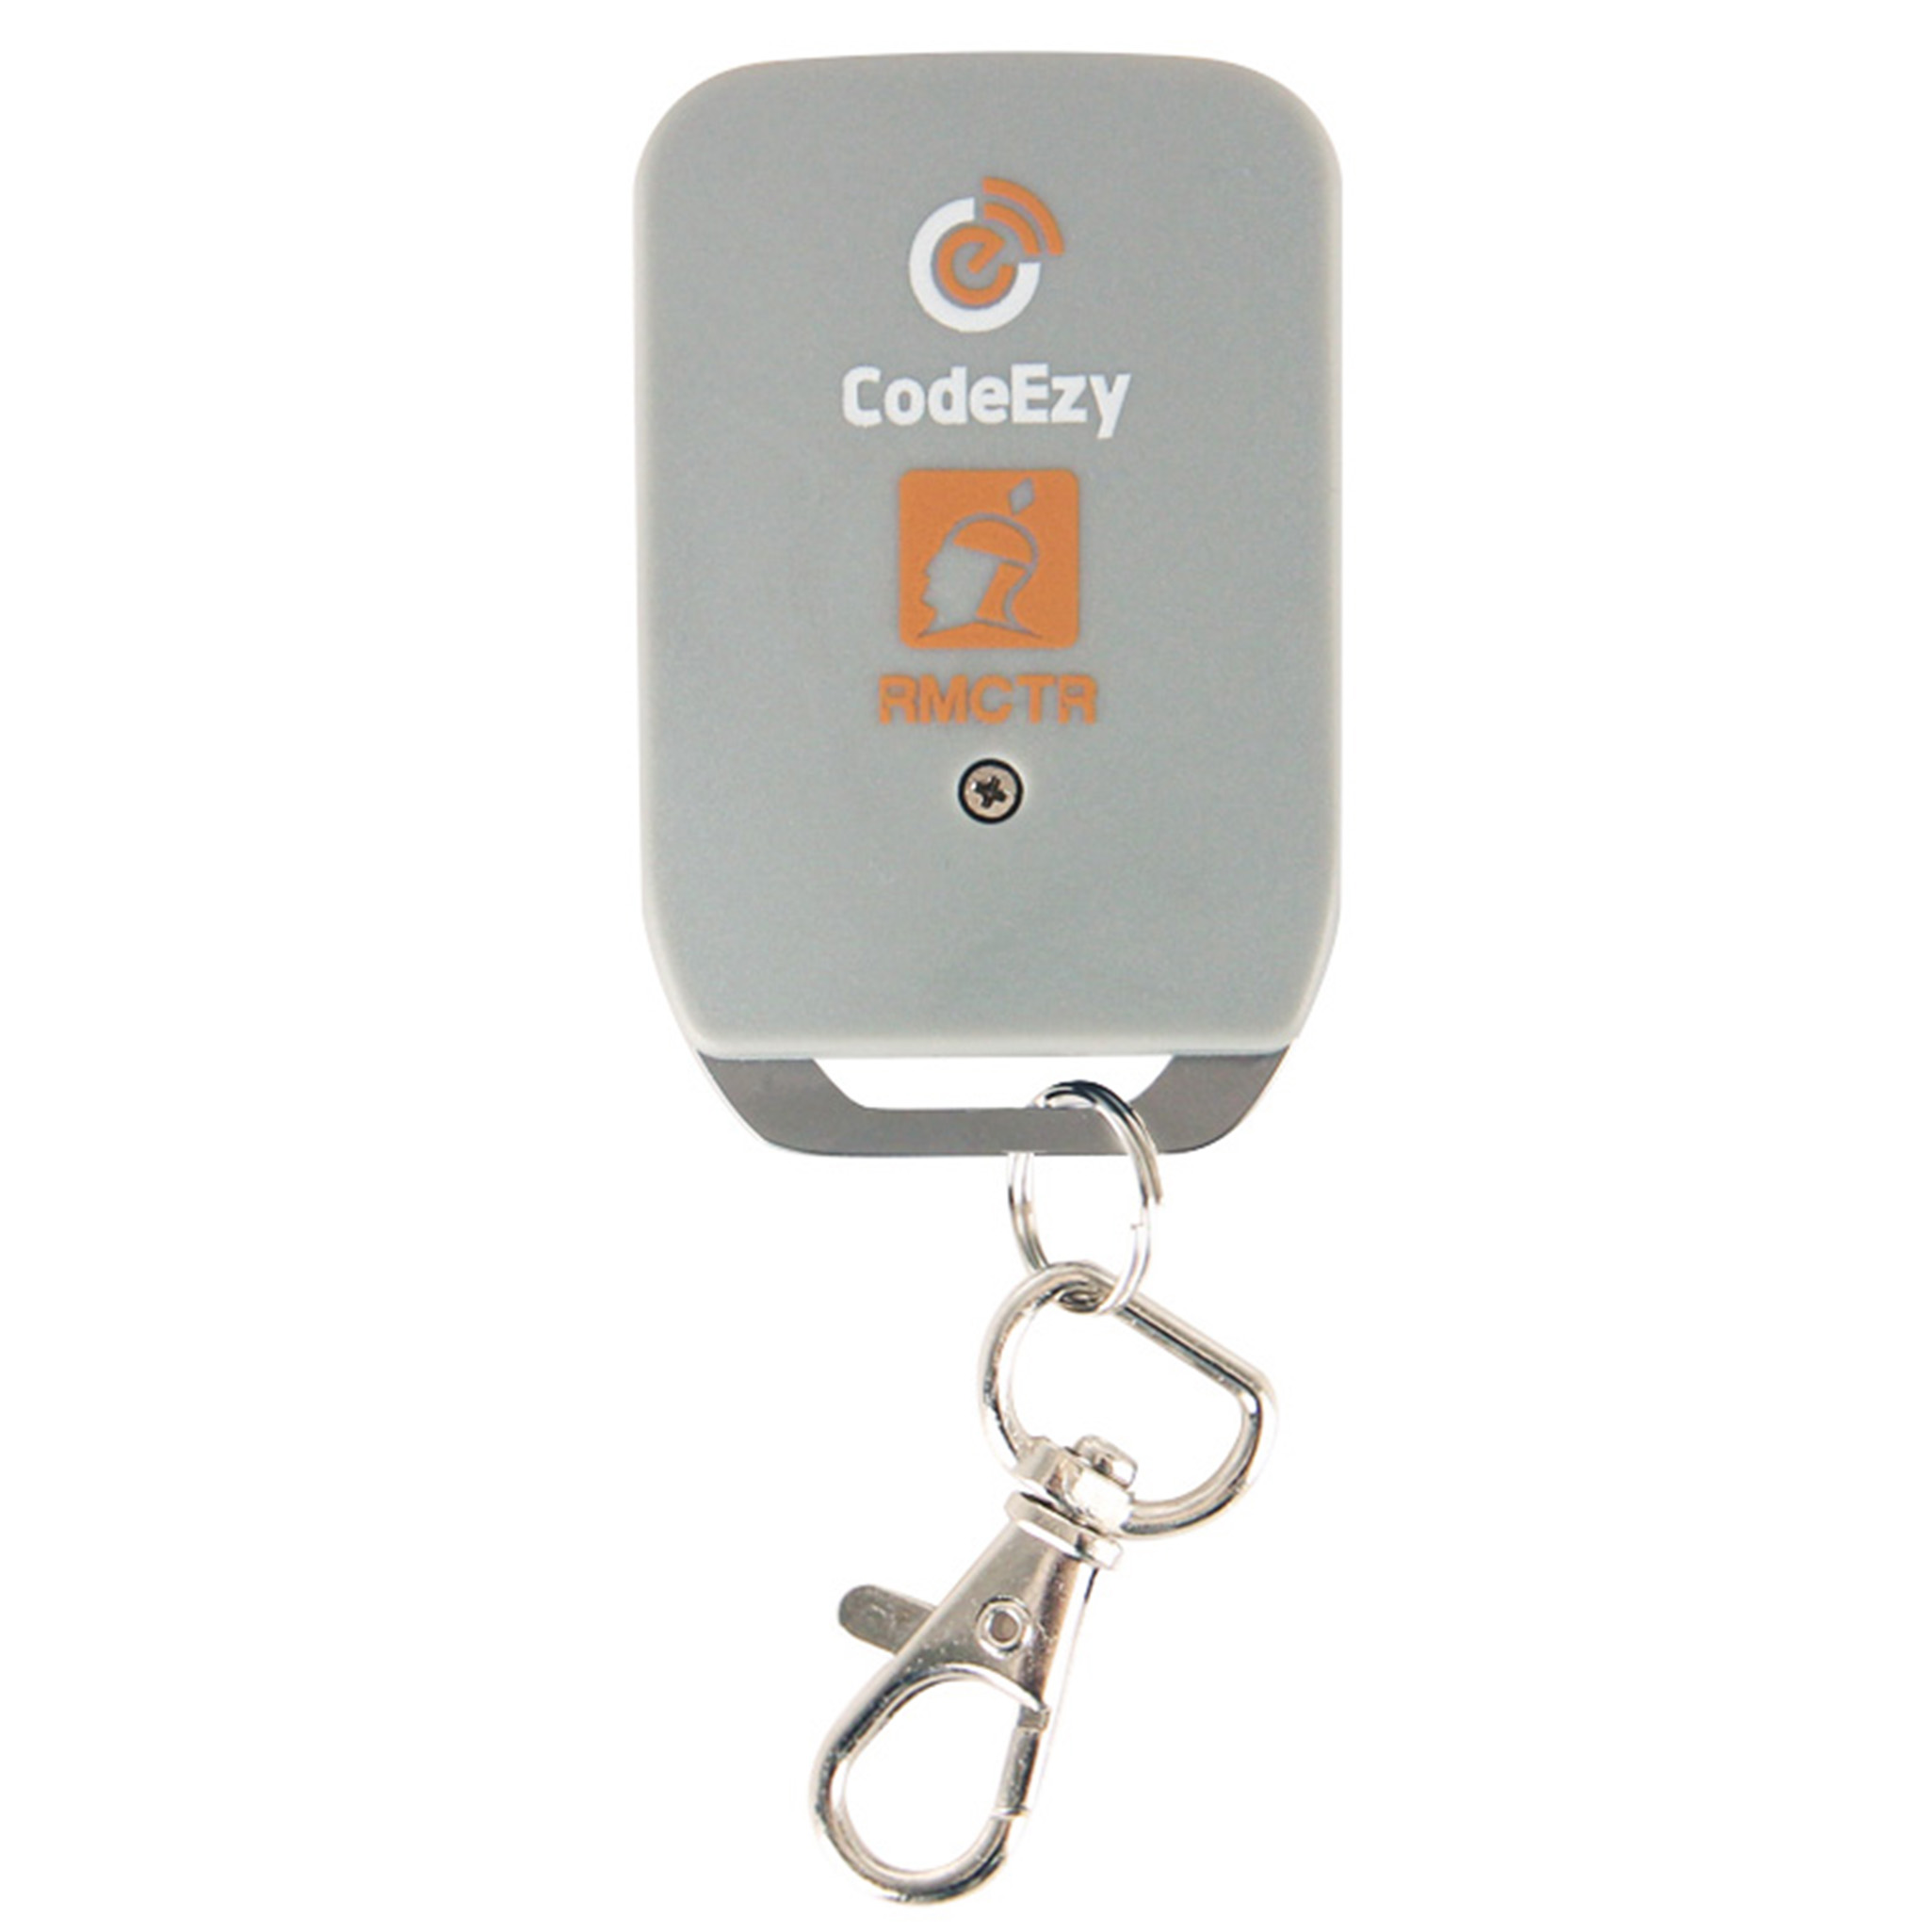
Code Ezy Trinity – Aftermarket Remote
$32.95
What’s Included?
- 1 x Aftermarket Code Ezy Remote
- Pre-Installed Battery
- Coding Instructions
Please ensure you select the correct version when placing your order or you may receive the incorrect programming instructions.
For full compatibility details, refer to the product description or contact us if you need assistance.
Key Features:
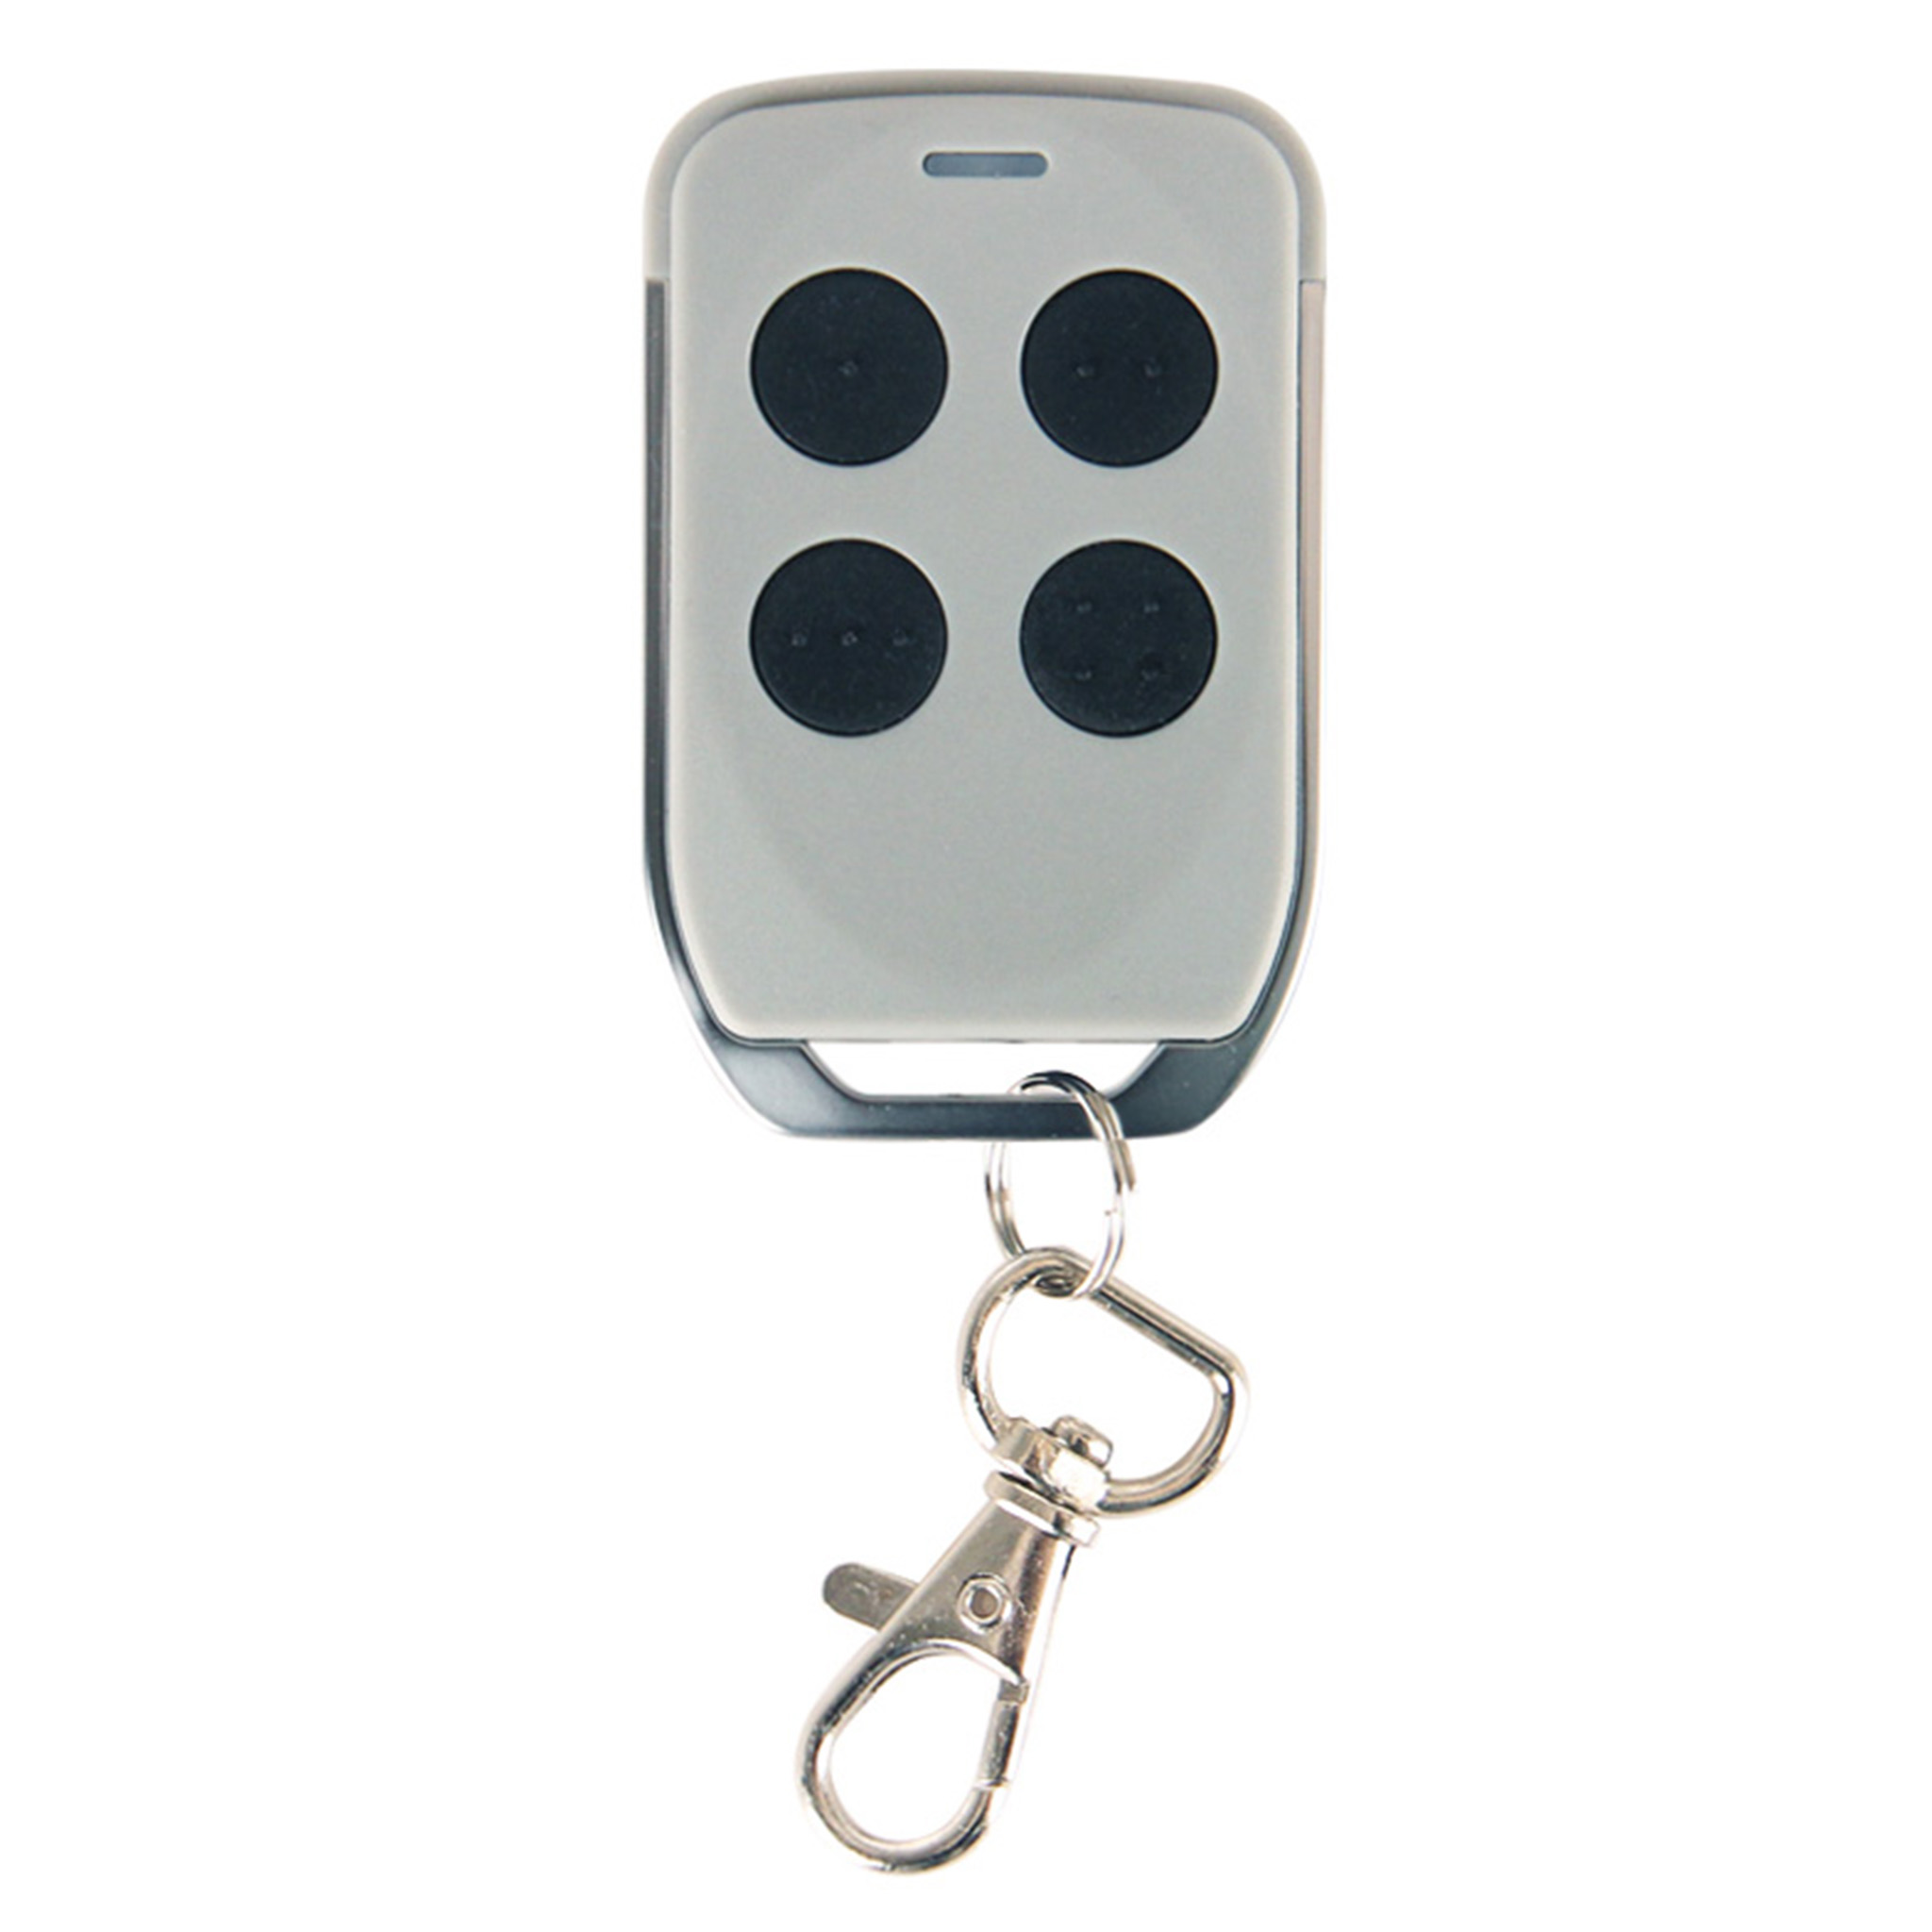
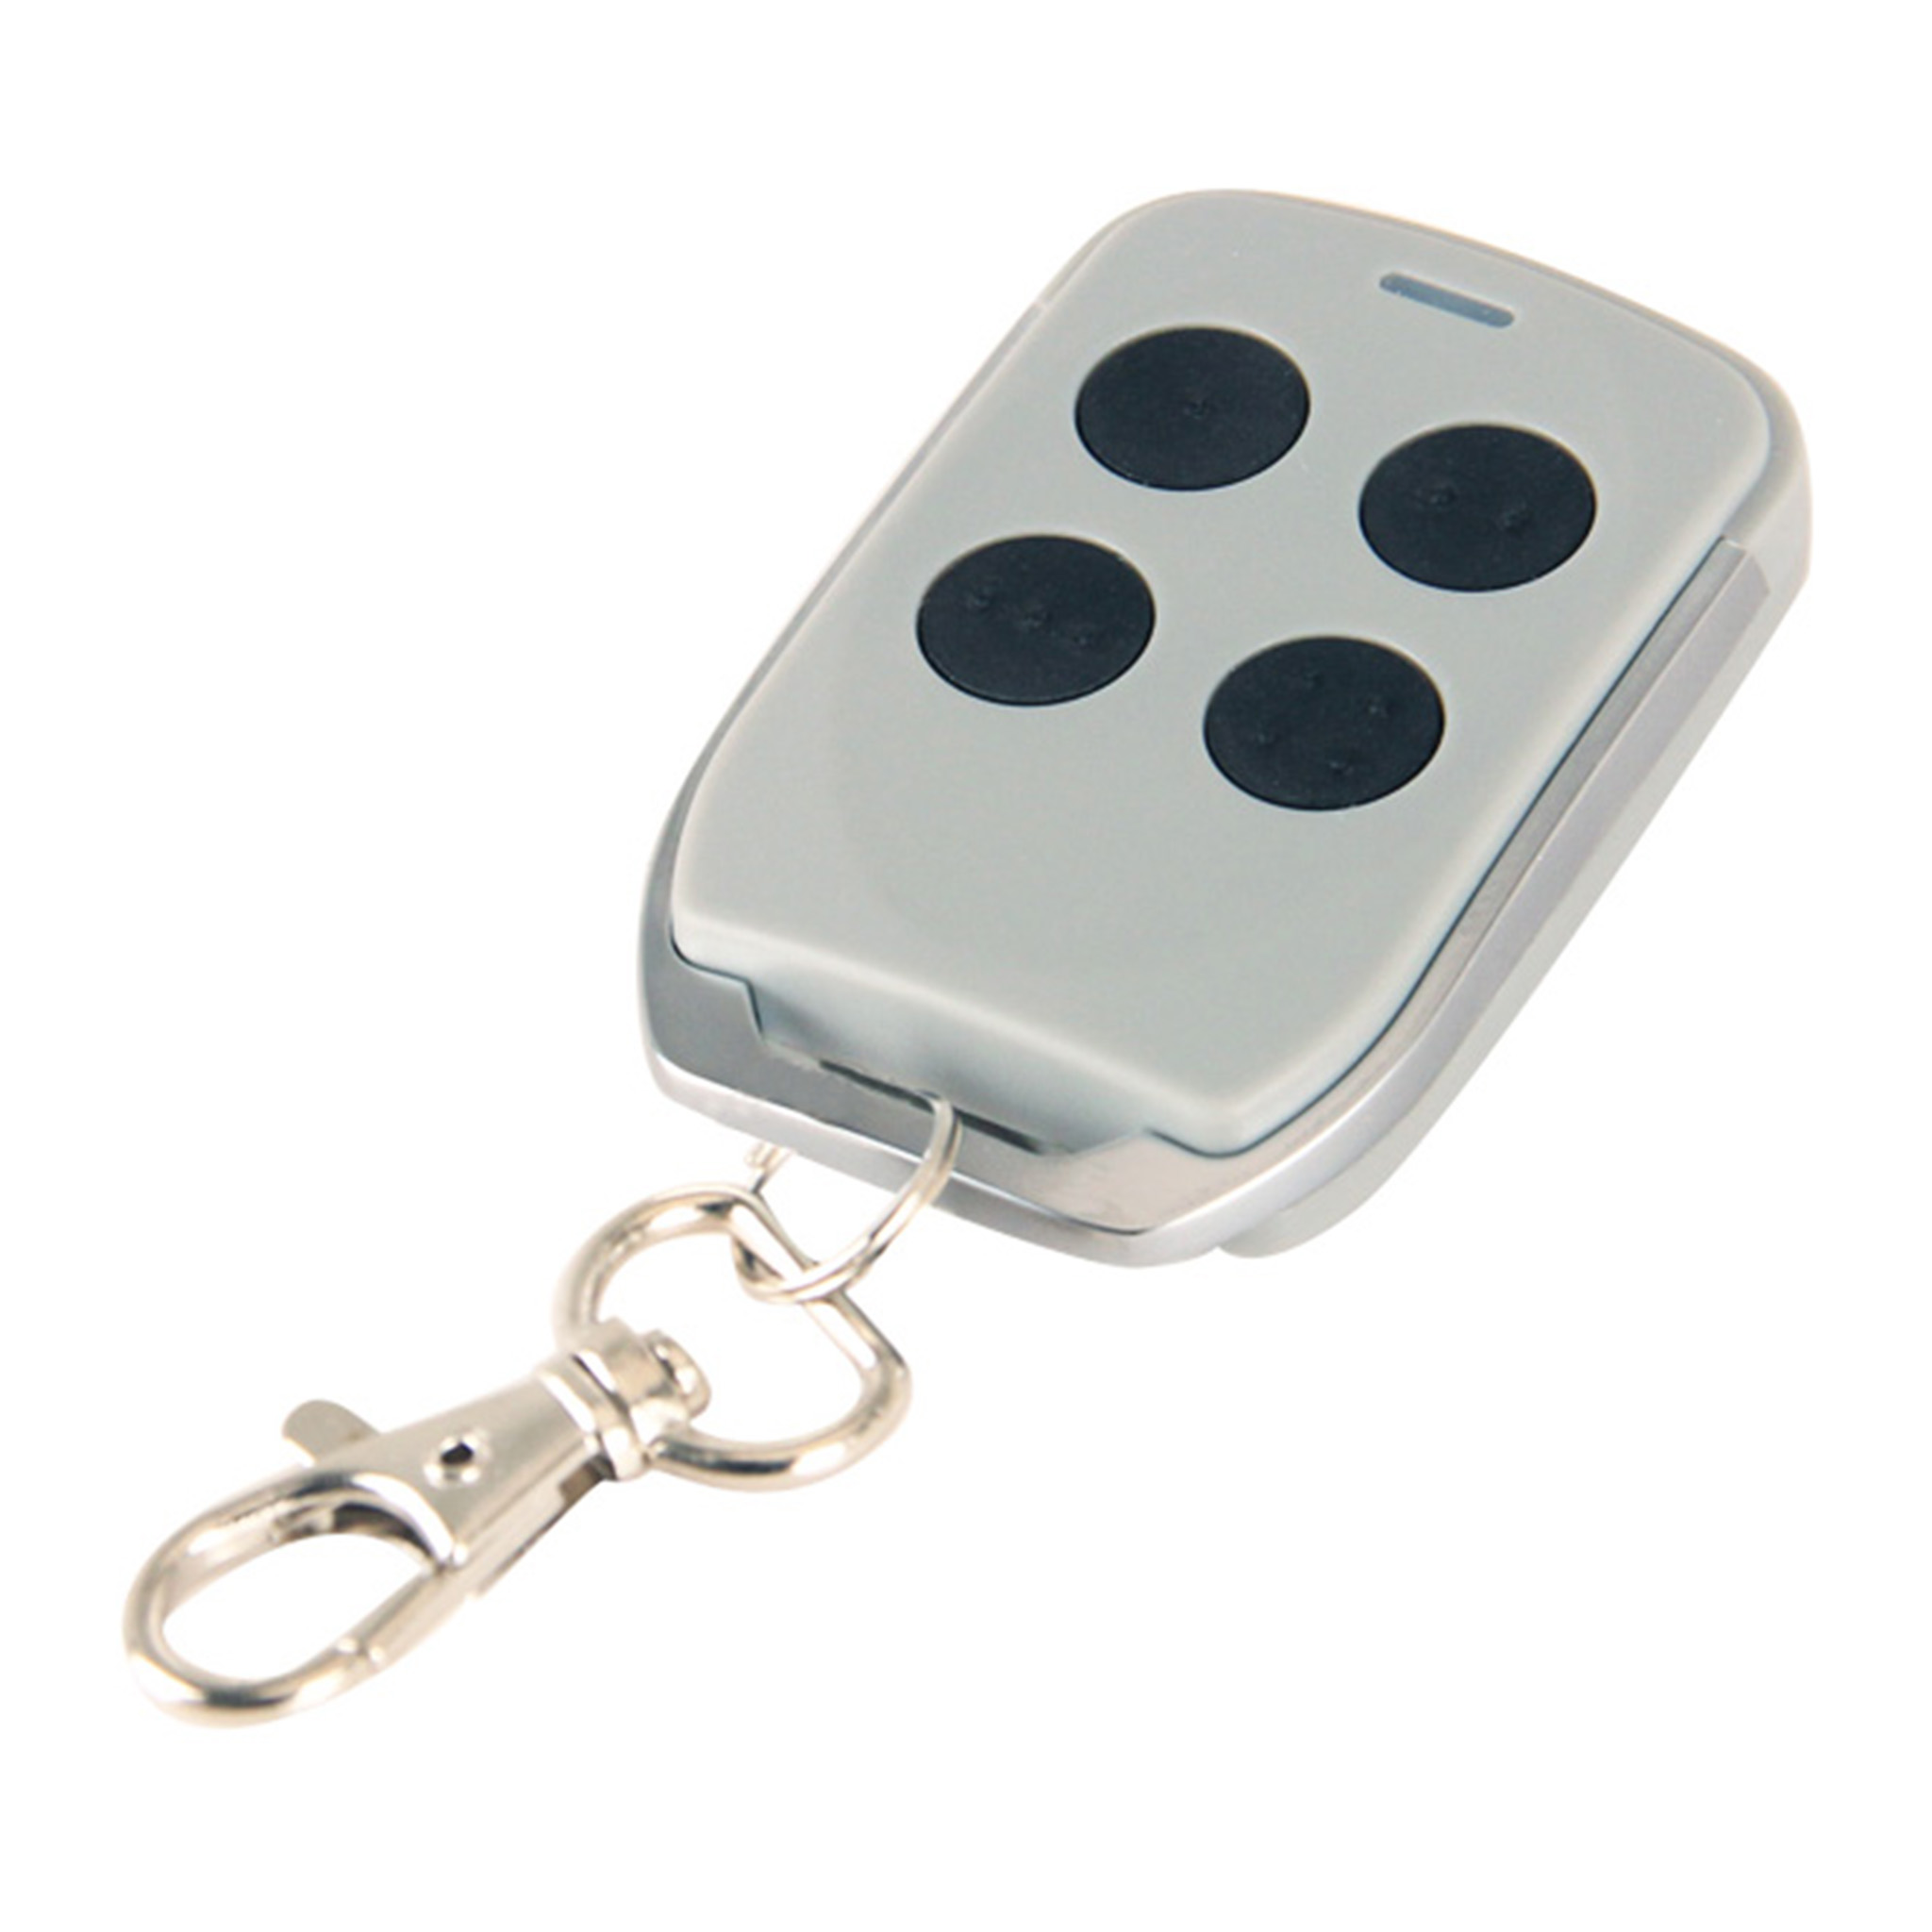
- 4-Button Design: Convenient four-button layout allowing control of multiple devices or doors from a single remote.
- Modern, Compact Design: Sleek light grey casing complemented by a polished chrome trim for a premium look.
- Durable Build Quality: Sturdy, robust casing designed to withstand daily wear and tear.
- Easy Programming: Quick and straightforward pairing process makes it user-friendly for homeowners to set up.
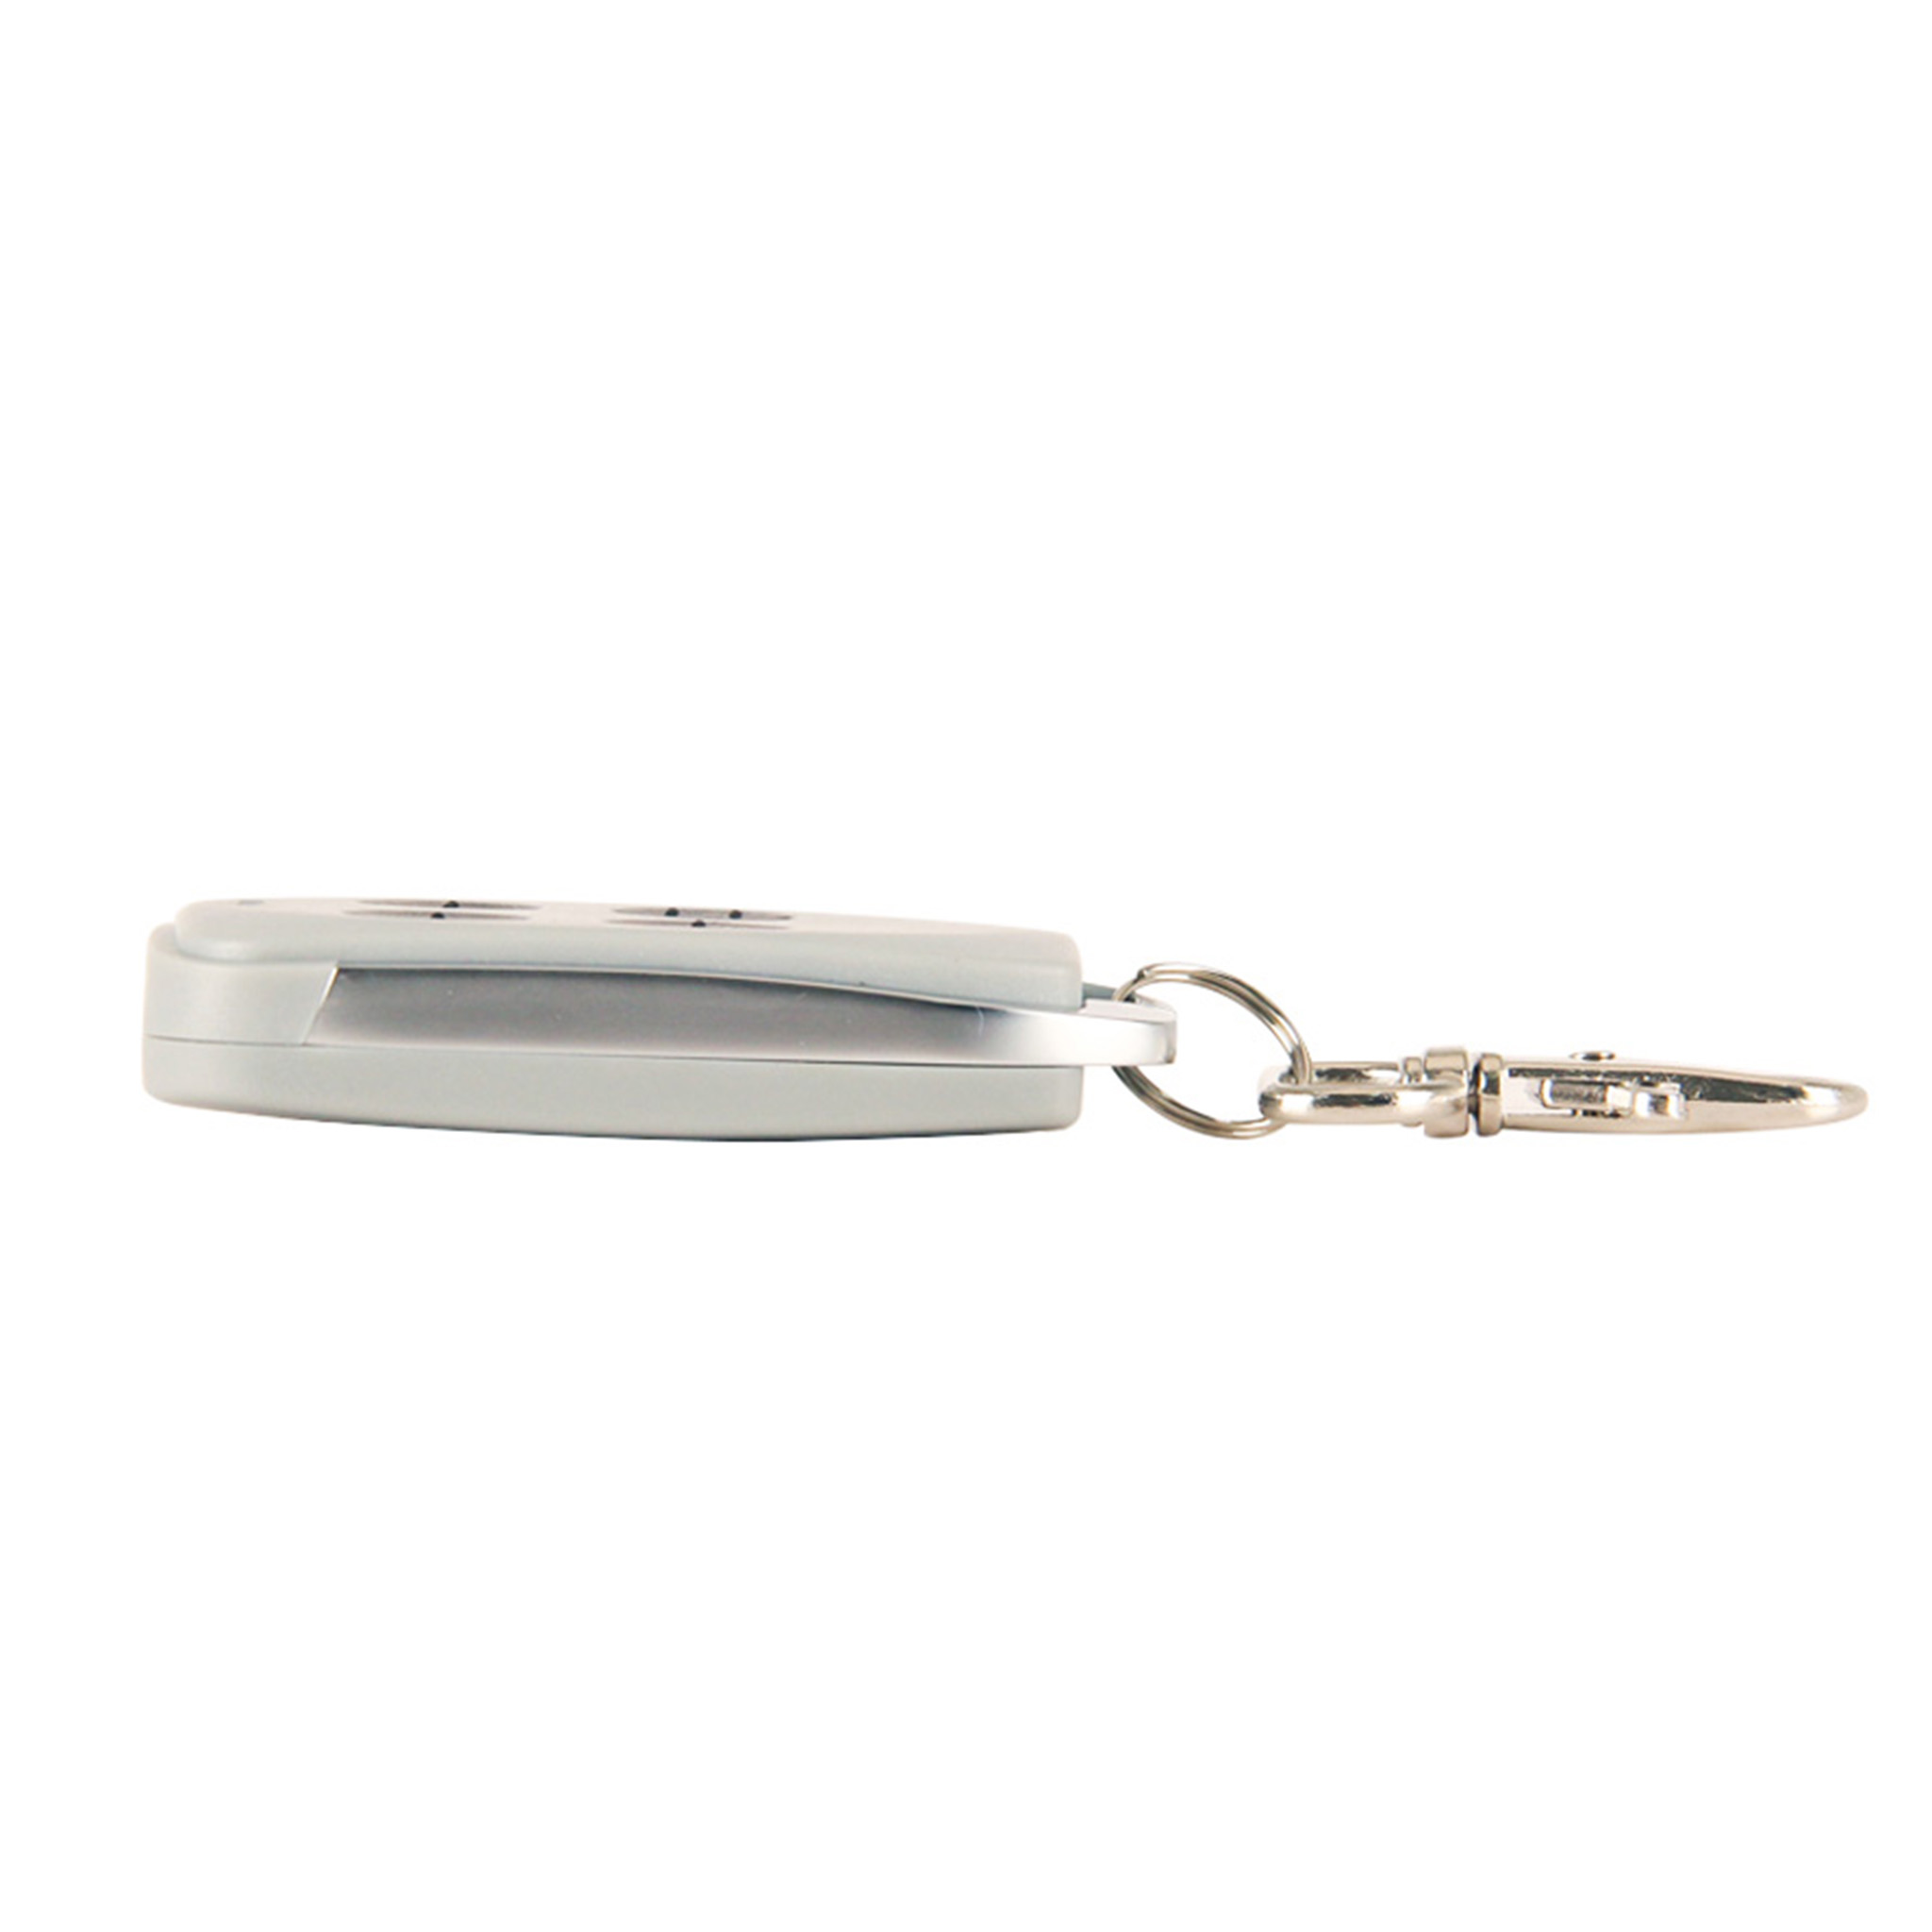
- Keychain Attachment: Comes with a convenient metal swivel clasp, making it easy to carry on your keys or bag.
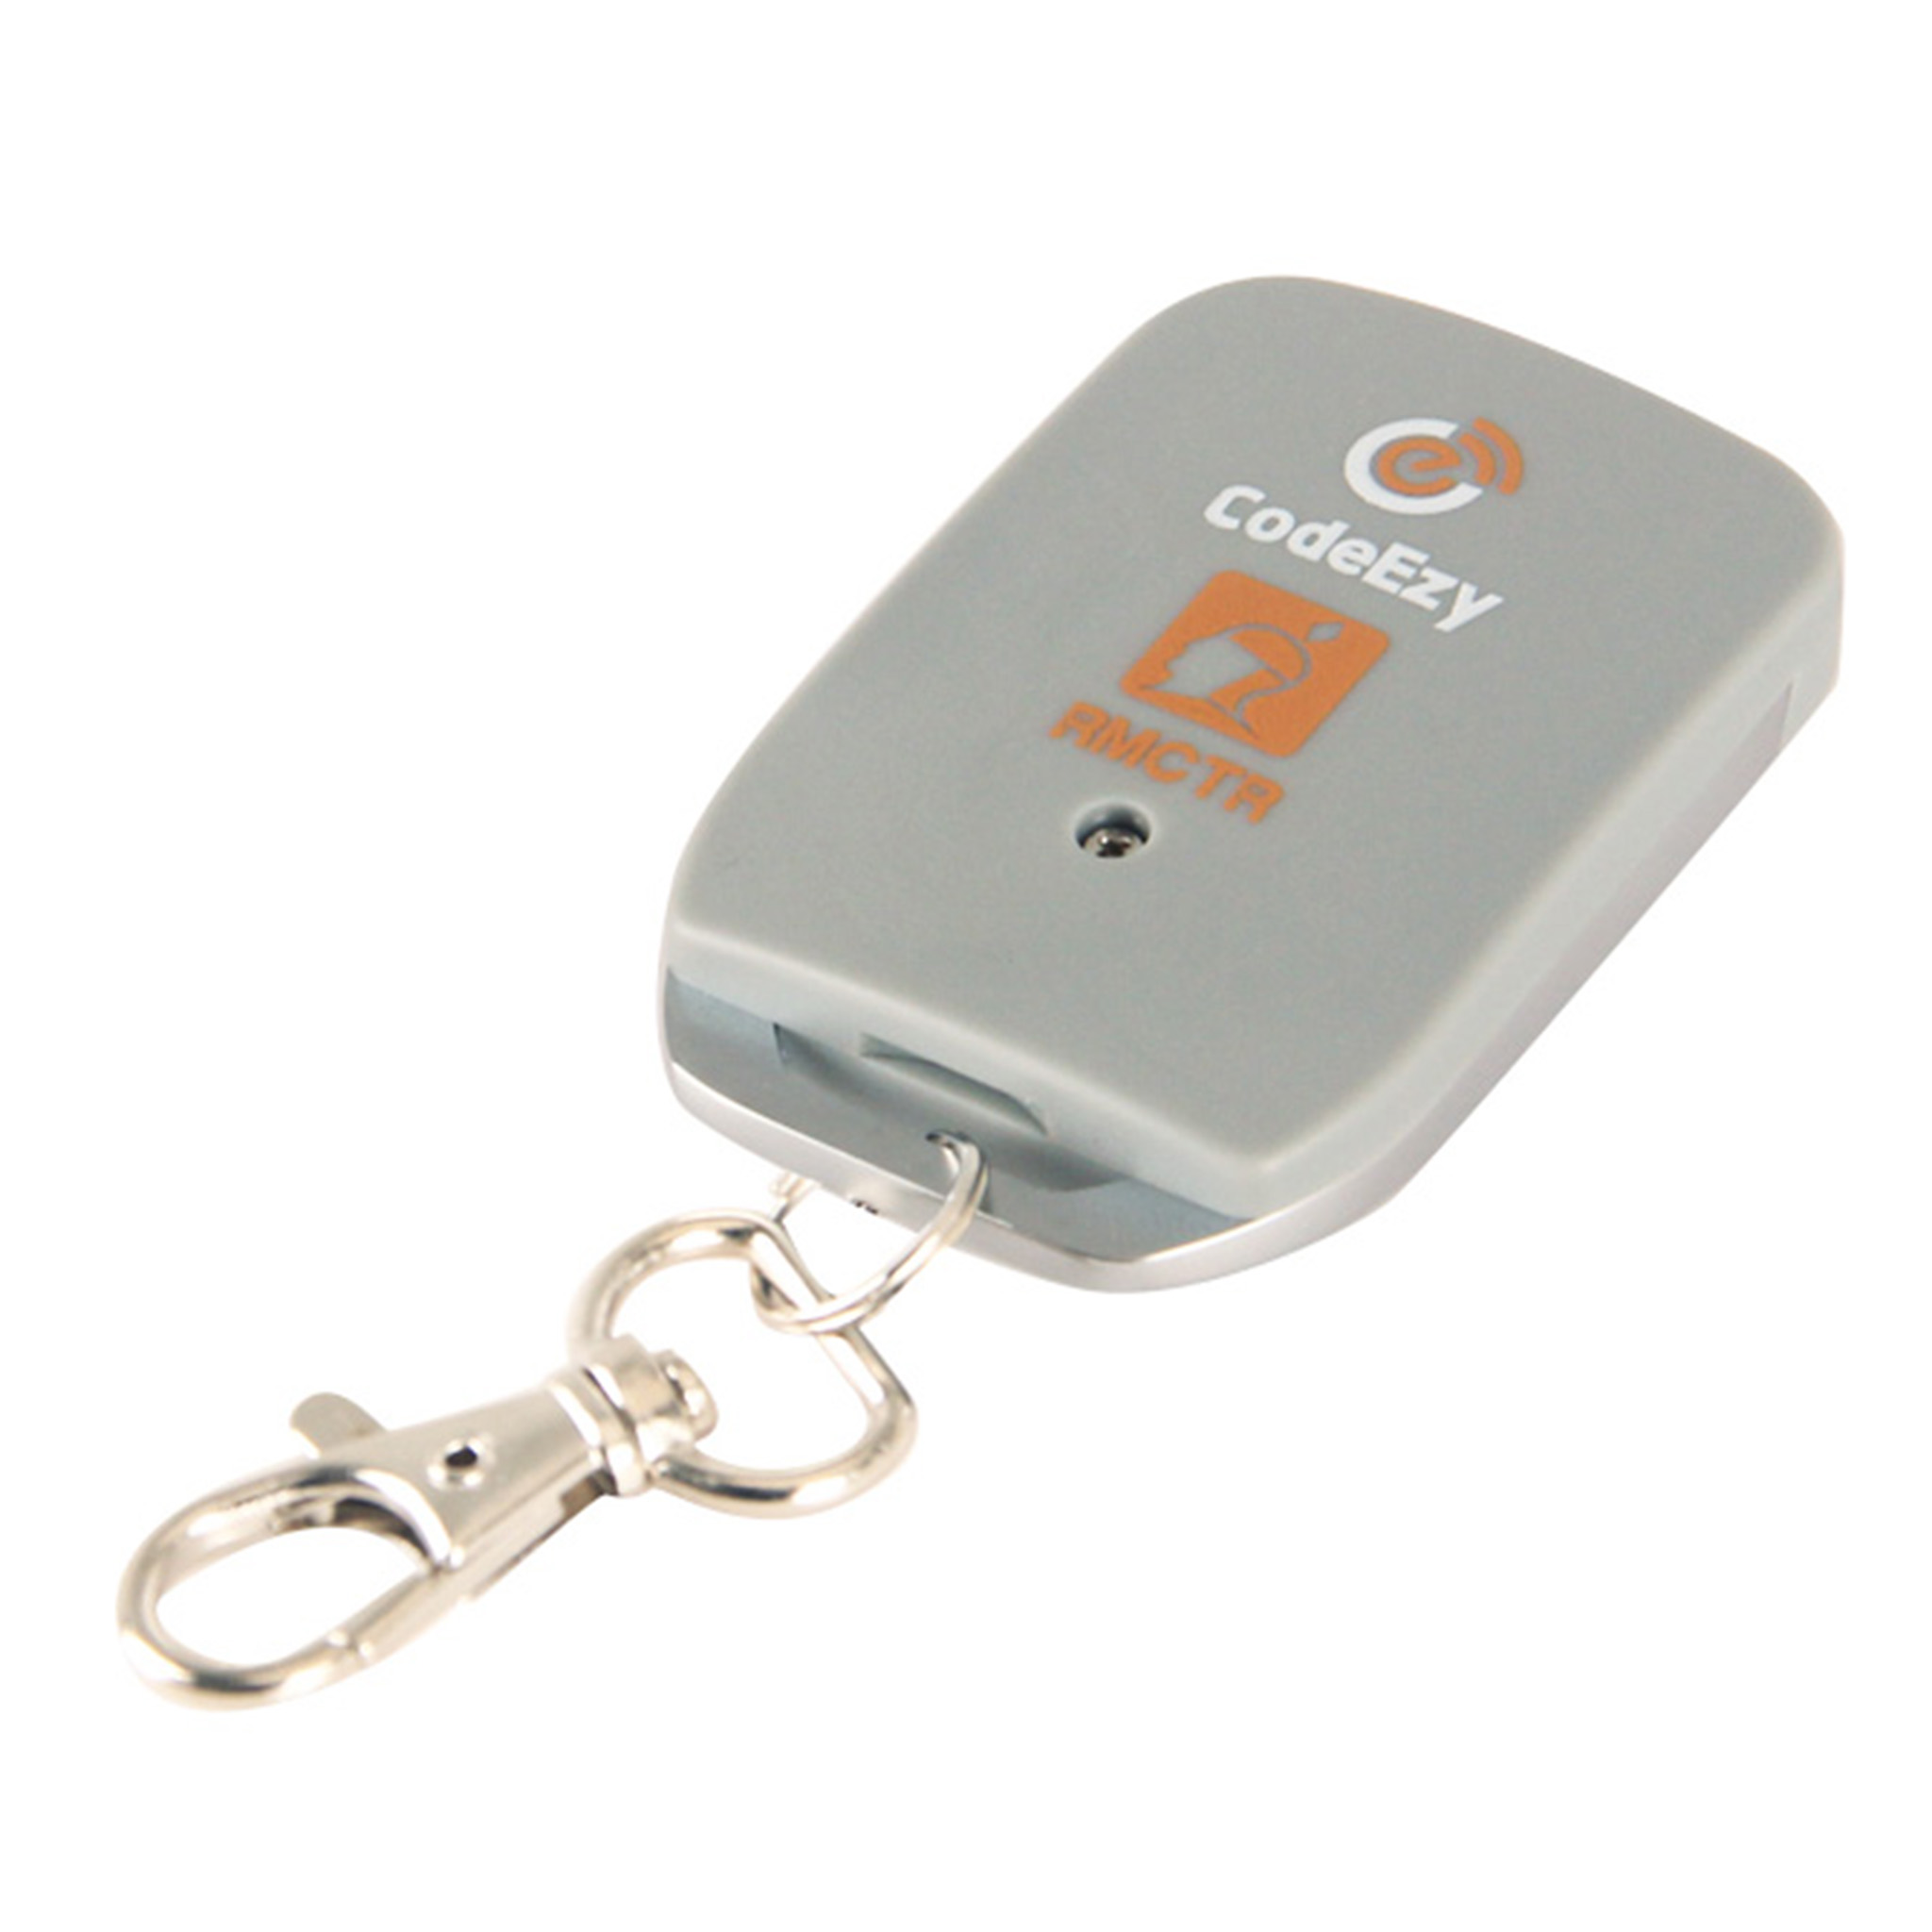
- LED Indicator: Built-in LED provides visual confirmation of operation, battery status, and programming mode.
- Battery Included: Comes ready-to-use out of the box with a battery pre-installed.
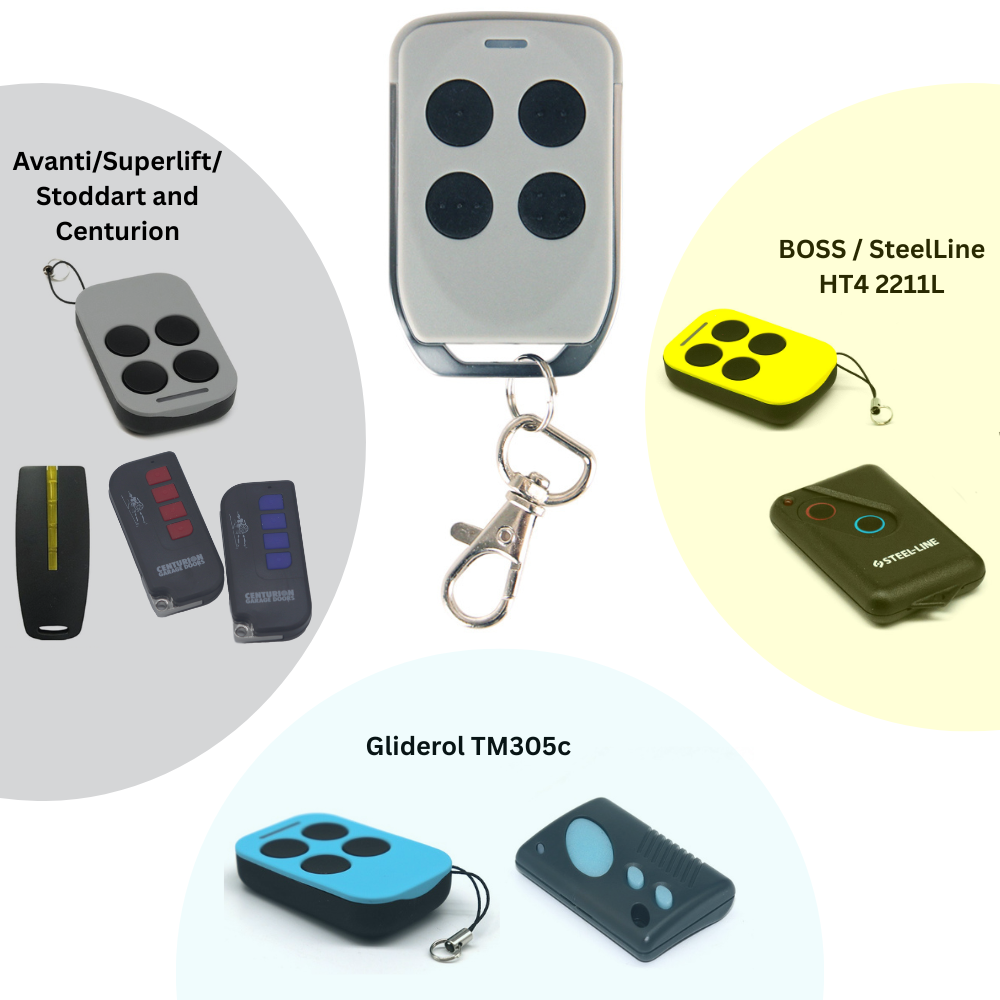
Compatible with:
The Code Ezy Trinity Remote supports three distinct modes, each corresponding to a specific brand or remote family.
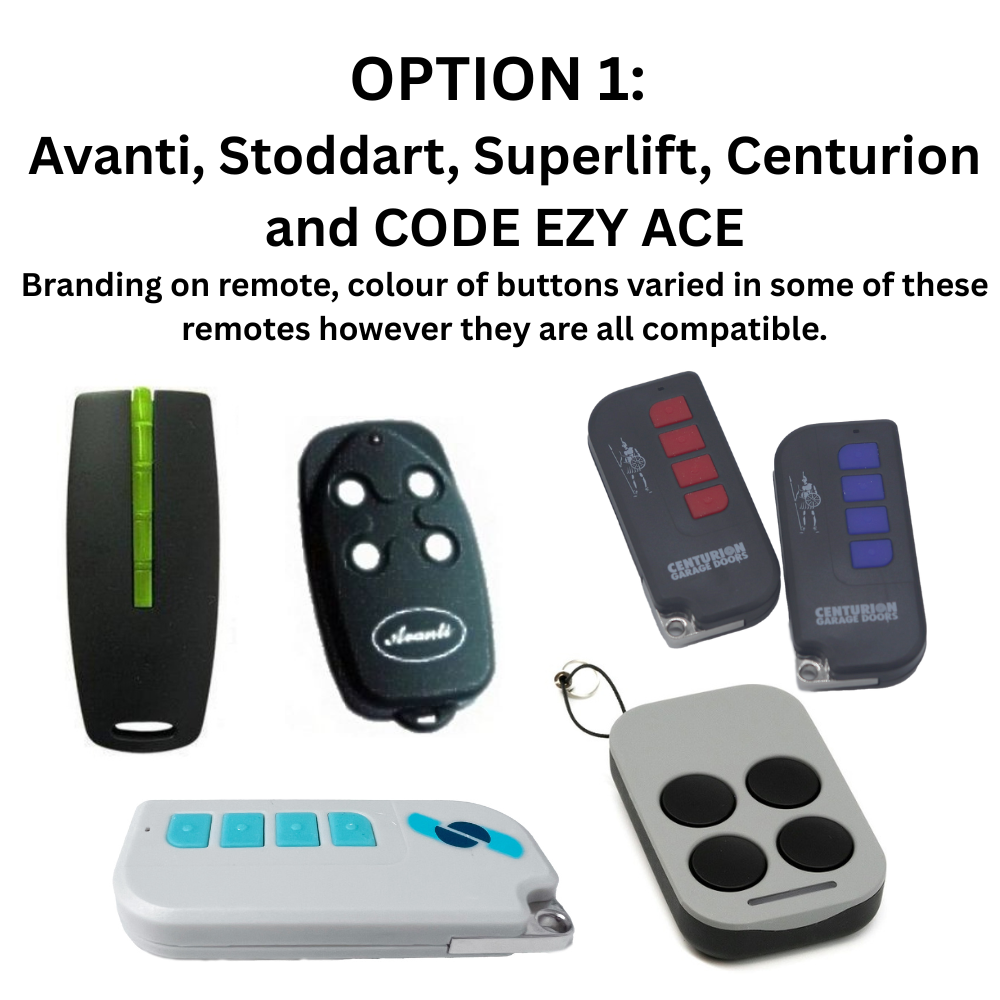
Mode 1007 – Superlift / Avanti / Centurion / Stoddart Systems
Replaces Code Ezy 1007 and compatible with:
- Superlift, Avanti, Stoddart, Centurion garage door systems
- Models including BRD1–9, RD1–9, BOL4–6 & 9, OL4–6 and related openers
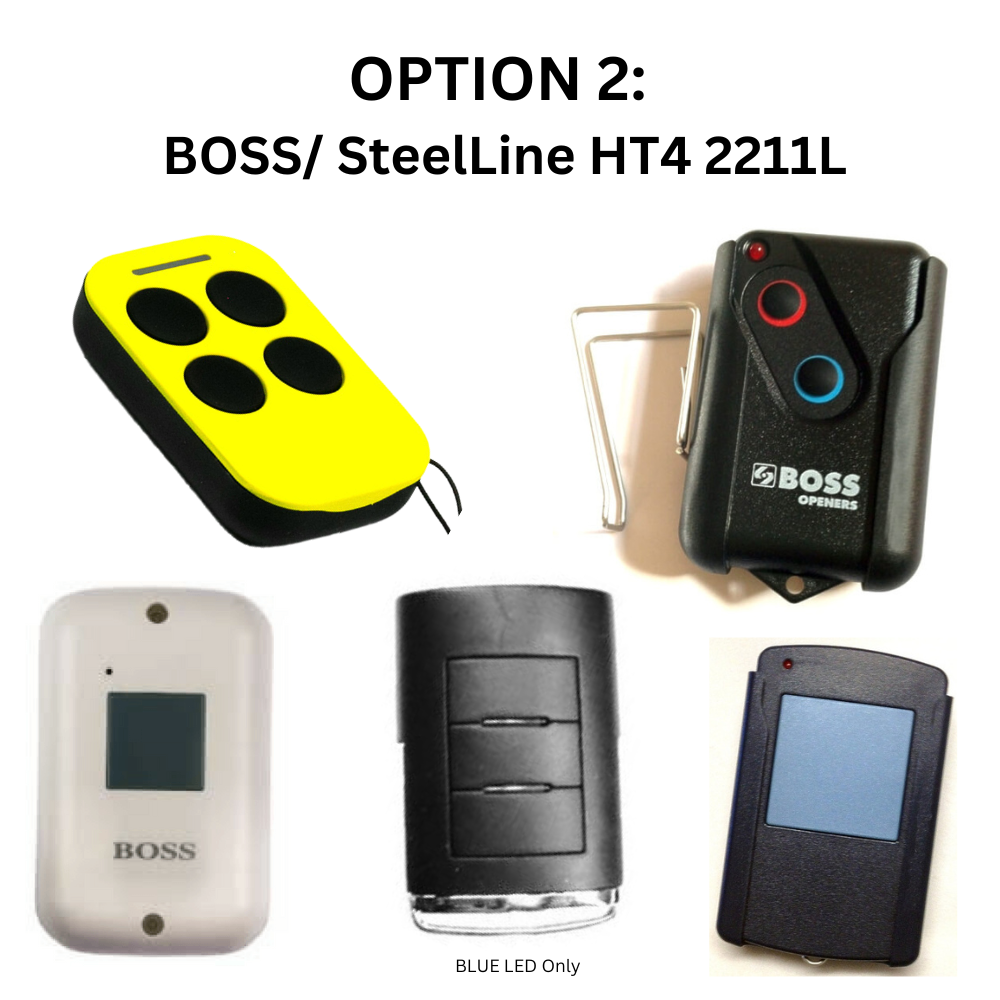
Mode 1008 – Boss / Steel-Line / Guardian Systems
Replaces Code Ezy 1008 and compatible with:
- Boss HT4 2211L (1, 2 & 4 button versions)
- Steel-Line HT3 / HT4, Guardian, Lynx and related systems
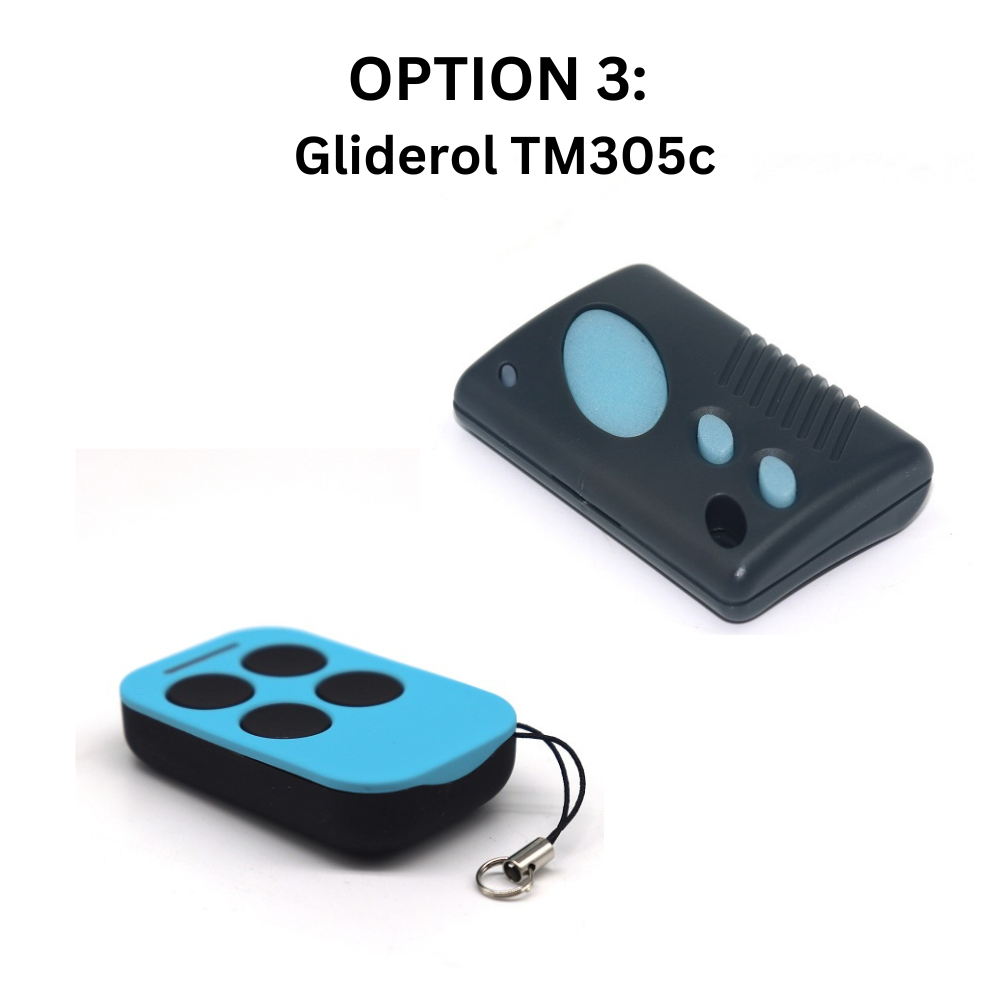
Mode 1006 – Gliderol Systems
Replaces Code Ezy 1006 and compatible with:
- Gliderol TM305c series
- Glidermatic, Rollamatic, and older GTS-style openers
Technical Specifications:
| Specifications | Details |
| Frequency | 433 MHz |
| Code Type | Rolling Code |
| Body Type | Key-Ring Remote |
| Case Colour | Grey |
| Number of Buttons | 4 |
| Button Colour | Black |
| Remote Dimensions | |
| Range | Up to 40m |
| Item Contains Lithium Coin/Button Battery | No |
| Battery Type | Alkaline 27A (Pre-Installed) |
| Access Type | Tool Required |
| AS62368.1 Compliant | Not Applicable |
| Warranty | 12 Months Manufacturers Warranty |
Downloads:
Video: Changing the Mode to BOSS HT4
PDF: BOSS/ Steel-Line HT4 Programming Instructions
Video: Changing the Mode to Gliderol TM305c
PDF: Gliderol TM305c Programming Instructions
Video: Changing the Mode to Avanti/Stoddart/Superlift/Centurion (default setting)
PDF: Centurion Remote Programming Instructions
Additional information
| Product Variation | Option 1 – 1007 – Superlift/Stoddart/Avanti Compatible Remote, Option 2 – 1008 – Boss/SteelLine HT4 2211L Compatible, Option 3 – 1006 – Gliderol TM305c Compatible |
|---|