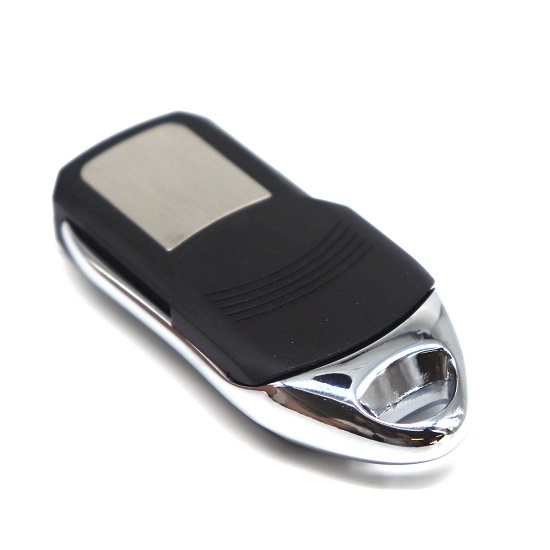
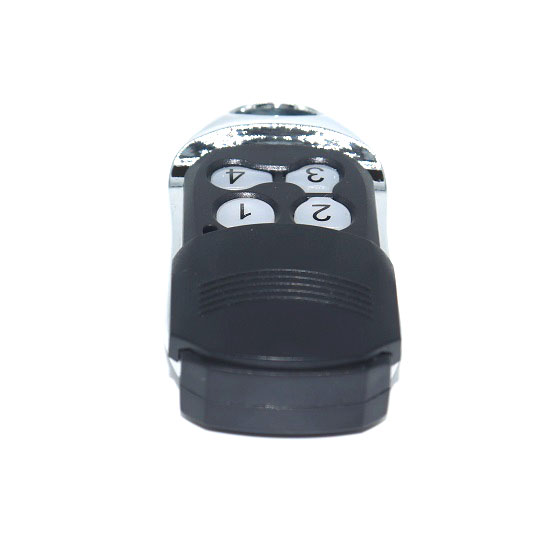
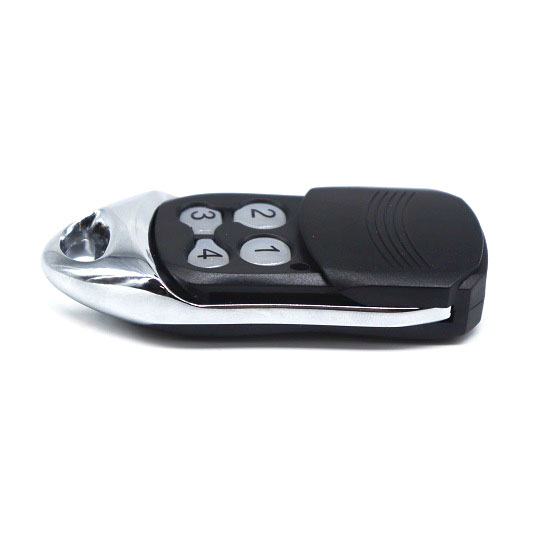
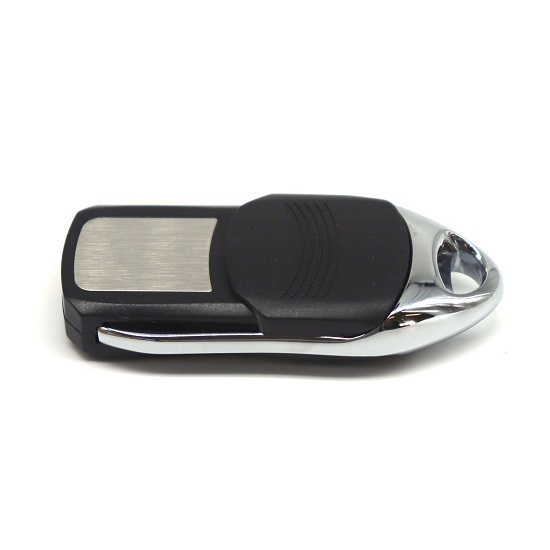
LEXO Avanti/Superlift Compatible Remote

Brand: LEXO

LEXO Avanti/Superlift Compatible Remote

Brand: LEXO

Includes:

  • 1 x After Market Remote
  • 1 x Battery
  • Coding Instructions
  • Key Ring Attachment
  • Free Shipping Australia-Wide*
  • 2 years manufacturers Warranty*

Note:  This listing is for an Aftermarket Compatible Remote. 

$12.95

Availability:

In stock

Availability:

In stock

Includes:

  • 1 x After Market Remote
  • 1 x Battery
  • Coding Instructions
  • Key Ring Attachment
  • Free Shipping Australia-Wide*
  • 2 years manufacturers Warranty*
Note:  This listing is for an Aftermarket Compatible Remote. 

Features:

  • 1 x After Market Compatible Remote
  • 2 Years Manufacturers Warranty*
  • Free Standard Shipping Australia-Wide*

Includes:

  • 1 x After Market Remote compatible with Avanti, Centurion and Superlift (see compatible list below)
  • 1 x Battery
  • Coding Instructions
  • Key Ring Attachment

Compatibility List:

This remote has been rebranded by several businesses during its production therefore the same style of remote can have one of 5 brands to it.  The aftermarket remote has the same manufacturers code as the compatibility list below.

This aftermarket remote is compatible with the following remotes:

Weight0.1 kg
Brand

LEXO

Type

Compatible Brand

MERLIN

MPN

Does Not Apply

UPC

Does not apply

Technical Specifications

Frequency – 433.92MHz 
Coding – Rolling Code
Body Type – Key-Ring
Buttons – 4
Button Colour – Black
Case Colour –  Black/Grey Face
Range – > 40 meters

Written Instructions

TX4 & STYLE REMOTES 

  • If needed hinge the Courtesy Lamp Cover open to expose the “Learn or Code Set Button otherwise it is on the rear of the motor head as shown.
  • Decide which button of the new remote will control the opener
  • Momentarily press the “Learn or Code Set Button (* LED Indicator will glow solid)
  • Momentarily press the New Remote button you want to control the door – LED indicator will extinguish
  • Momentarily press the same Remote button again – LED indicator will begin to flash rapidly, programming is complete once the LED Indicator ceases to flash
  • If required close the Courtesy Lamp Cover

CODE DELETING

  • If needed hinge the Courtesy Lamp Cover open to expose the “Learn or Code Set Button otherwise it is on
    the rear of the motor head.
  • Momentarily press the “Learn or Code Set” Button – LED indicator will glow solid
  • Press and hold the black “Run” Button – LED indicator will begin to flash rapidly
  • All Remote Codes will have been deleted once the LED Indicator ceases to flash
  • If required close the Courtesy Lamp Cover

EURO STYLE REMOTE CODE LEARNING

  • With the door closed – On the control box momentarily press red learn button and LED light will flash.
  • Use the yellow + Button to scroll through to run function on the display screen menu. If 10 seconds elapses
    before step 3, start again at step 1.
  • Momentarily press button on handset you wish to open / close the door. Led light will flash rapidly indicating successful coding. If you have more than one automatic door, please repeat the same process using
    selected button on additional handset.

CODING LEARNING VIA MENU

  • On control box momentarily press Red learn button and LED light will flash
  • Use the Yellow + Button to scroll through to li function on the display screen menu. If 10 seconds elapses before step 2, start again at step 1.
  • Momentarily press button on handset you wish to code to operate the Light. LED light will flash rapidly which
    indicates successful coding of the courtesy light function.

CODE DELETING

  • Press Red LEARN button on opener once. The LED will display bu and the light will slowly flash for 10 seconds. If 10 seconds elapses before step 2, start again at step 1.
  • Hold green CONFIRM button down for 5 seconds until led light on the opener flashes rapidly.
  • Deleting codes complete.

Video Instructions

Coming Soon

Reviews

There are no reviews yet.

Only logged in customers who have purchased this product may leave a review.