


LEXO PTX5/PTX6 Compatible Remote
PTX-5v2 Replacement Remote
THIS VERSION of PTX-5v2 Replacement Remote HAS BEEN DISCONTINUED
Compatible remotes for the ATA PTX-5v1, PTX-5v2 and PTX-6v1 are available for purchase below:
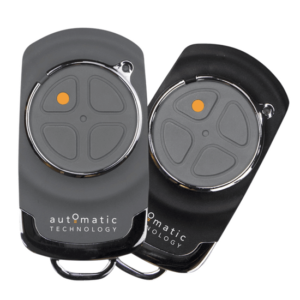 Buy Now Genuine ATA PTX6 Remote Control
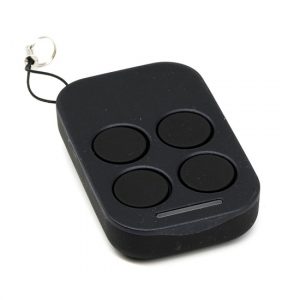 Buy Now Compatible – Code Ezy AJAX
Features:
- 1 x After Market Compatible Remote
- 2 Years Manufacturers Warranty*
- Free Standard Shipping Australia-Wide*
Includes:
- 1 x After Market Remote
- 1 x Battery
- Coding Instructions
Compatibility List:
This remote is compatible with the ATA TrioCode Series of Remotes:
- ATA PTX5 v 1
- ATA PTX5 v 2
- ATA PTX2 v1
- ATA PTX2 v2
- ATA PTX6
Note: Not suitable for ATA Syncro and Tempo motors (ATS-2 and ATS-3)