Automatic Technology WTX6v1 Remote
Automatic Technology WTX6v1 Remote
SKU:15102
Regular price
$77.95
Regular price
Sale price
$77.95
Duties and taxes included.
Shipping calculated at checkout.
Quantity
Couldn't load pickup availability
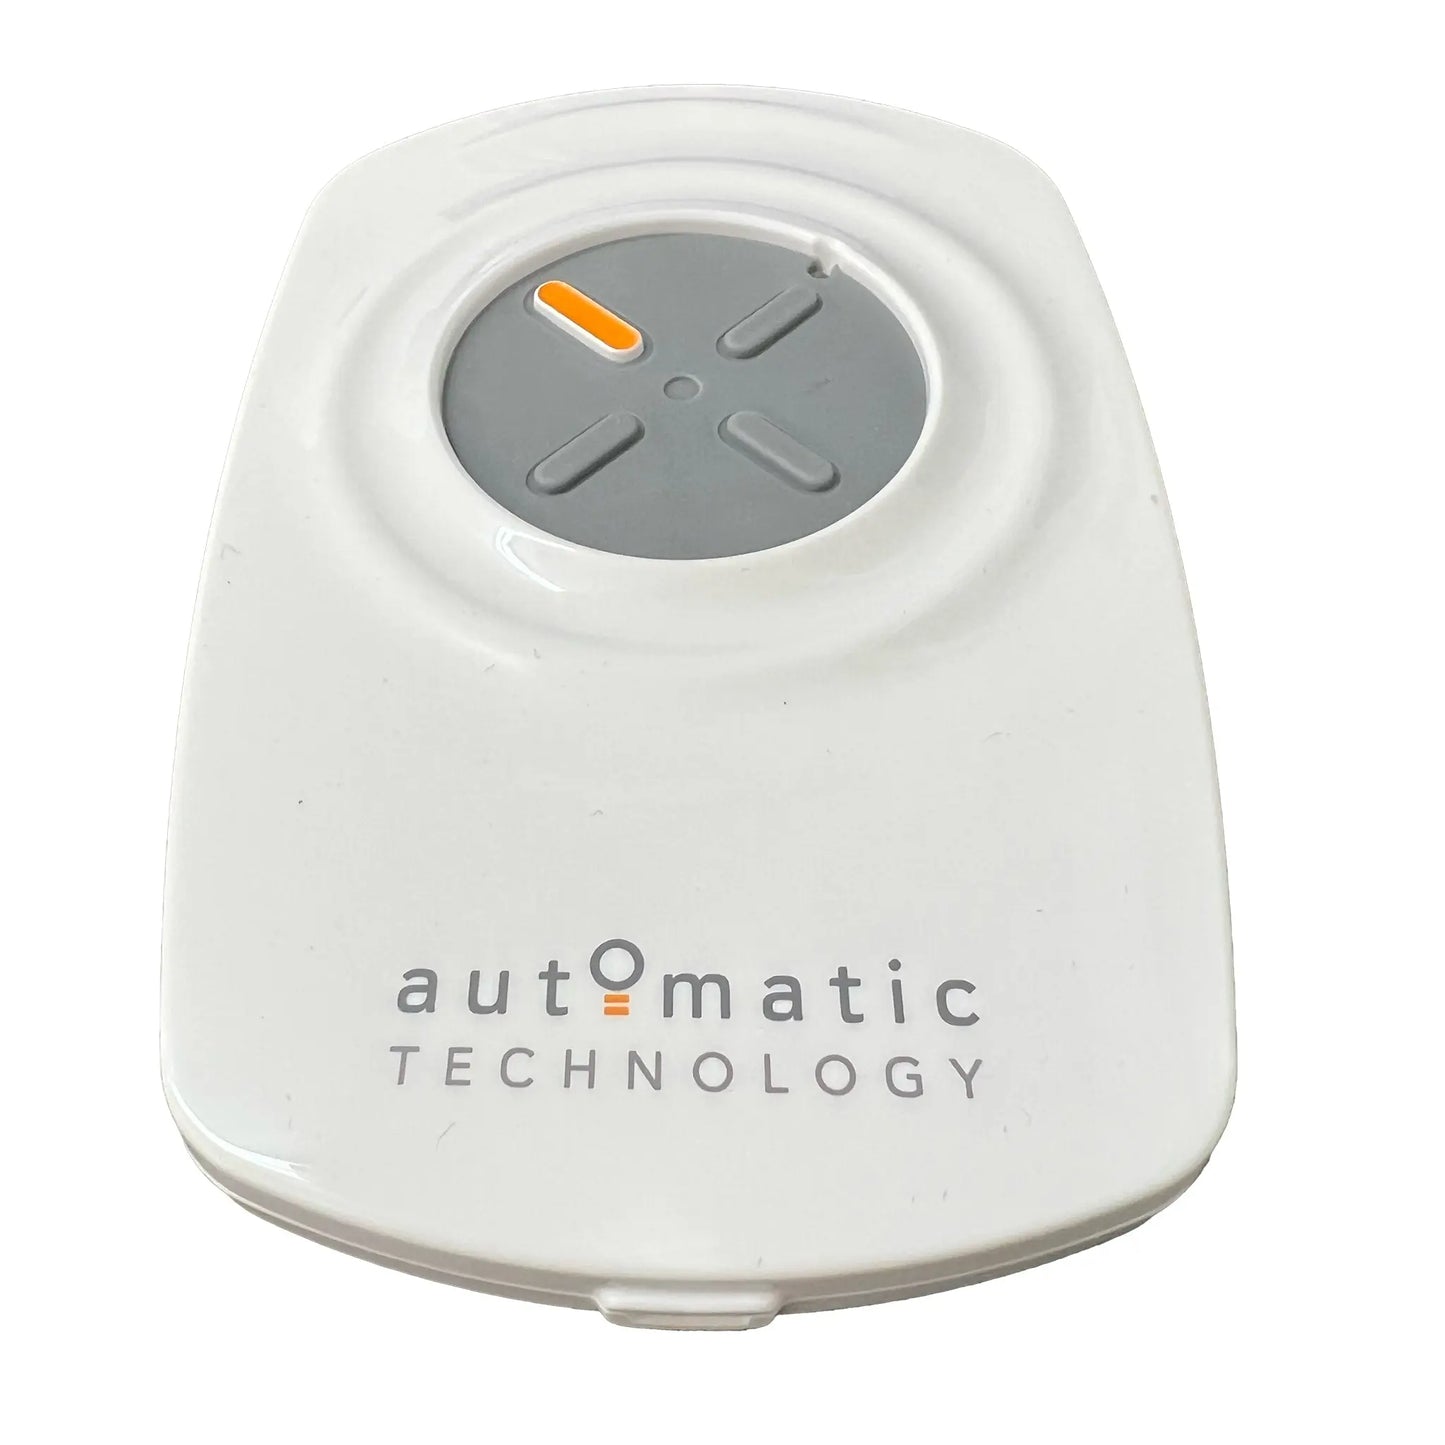
WTX6v1 - Genuine Automatic Technology 4-Button Wall Mounted Transmitter
The Automatic Technology WTX6v1 Remote is a genuine TrioCode series remote, designed to give you convenient fixed-location control for garage doors, gates and compatible automation systems. With encrypted rolling code security, modern styling and four programmable channels, it's the ideal upgrade for homes with multiple access points.
What’s Included:
- 1 x Genuine ATA TrioCode WTX6v1 Wall Button Remote
- 1 x Wall Bracket
- Programming Instructions
Key Features:
- Genuine ATA TrioCode Wal Remote: Original equipment for reliability
- Smooth and contemporary design: blends easily into modern home interiors
- Controls up to 4 devices: Operated garage doors, gates or even lights
- Encrypted Rolling Code technology: prevents code grabbing with over 4.29 billion combinations
- Easy programming: Quick "Learn" process to pair with compatible openers
Compatible with:
The ATA WTX6v1 is compatible with all openers using TrioCode remotes and keypads including:
- ATA PTX6v1, PTX5v1, PTX5v2, PTX2v1, PTX2v2, WTX4v2, KPX7 Keypad
The WTX6v1 is compatible with the following openers, control boards and receivers:
- EasyRoller GDO-6, GDO6v3 and GDO6v4
- Securalift GDO7v2 and GDO7v3, GDO 11v1
- Ero GDO11v3
- ShedMaster GDO8v1, GDO 8v2 and GDO8v3
- Dynamo and Enduro GDO-9, GDO9v2 and GDO9v3
- Toro GDO10v1, GDO 10v2L2 and GDO10v3
- Tempo and Syncro - ATS-2 and ATS-3
- Hiro GDO-12
- NeoSlider NES-24v1, NES500 and NES800
- Elite SGO-1
- Axess Pro Series 1101, 1505, 3000
- DCB-05v1 and DCB-05v2 (Control Boards)
- FH-CRX2 and FH-CRX2v2 (Receivers)
Technical Specifications:
| Frequency | 433.47, 433.92 & 434.37 MHz |
| Code Type | 128 Bit Rolling Code |
| Body Type | Wall Remtoe |
| Case Colour | White |
| Number of Buttons | 4 |
| Button Colour | Grey |
| Remote Dimensions | 73.4mm x 115.9mm x 15.6mm |
| Range | Up to 40m |
| Item Contains Lithium Coin/Button Battery | Yes |
| Battery Type | Lithium CR2032 (Pre-Installed) |
| Access Type | Tool Required |
| AS62368.1 Compliant | Yes |
| Warranty | 12 months Manufacturers Warranty |
Button/coin batteries can cause severe injuries or even death when swallowed. Keep batteries out of reach of children. If you suspect a child has swallowed or inserted a button/coin battery, seek medical attention immediately.
Downloads: