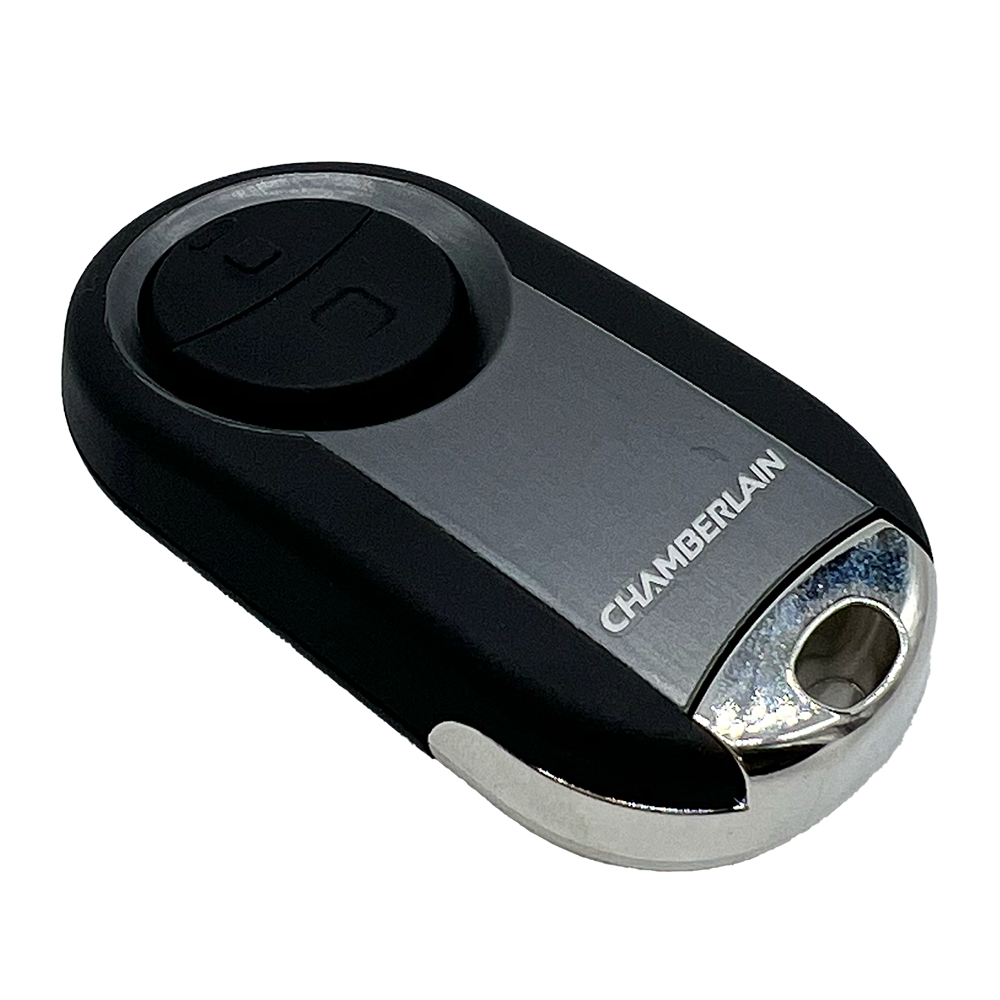
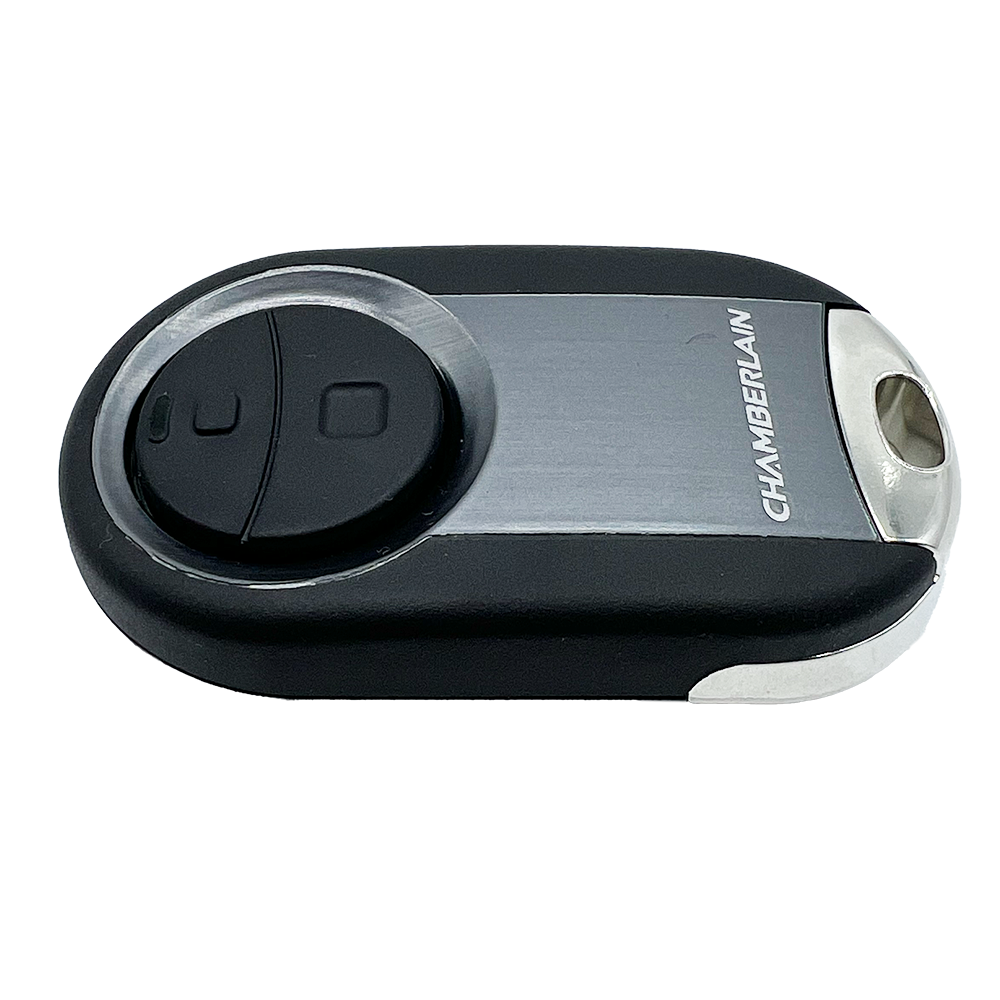
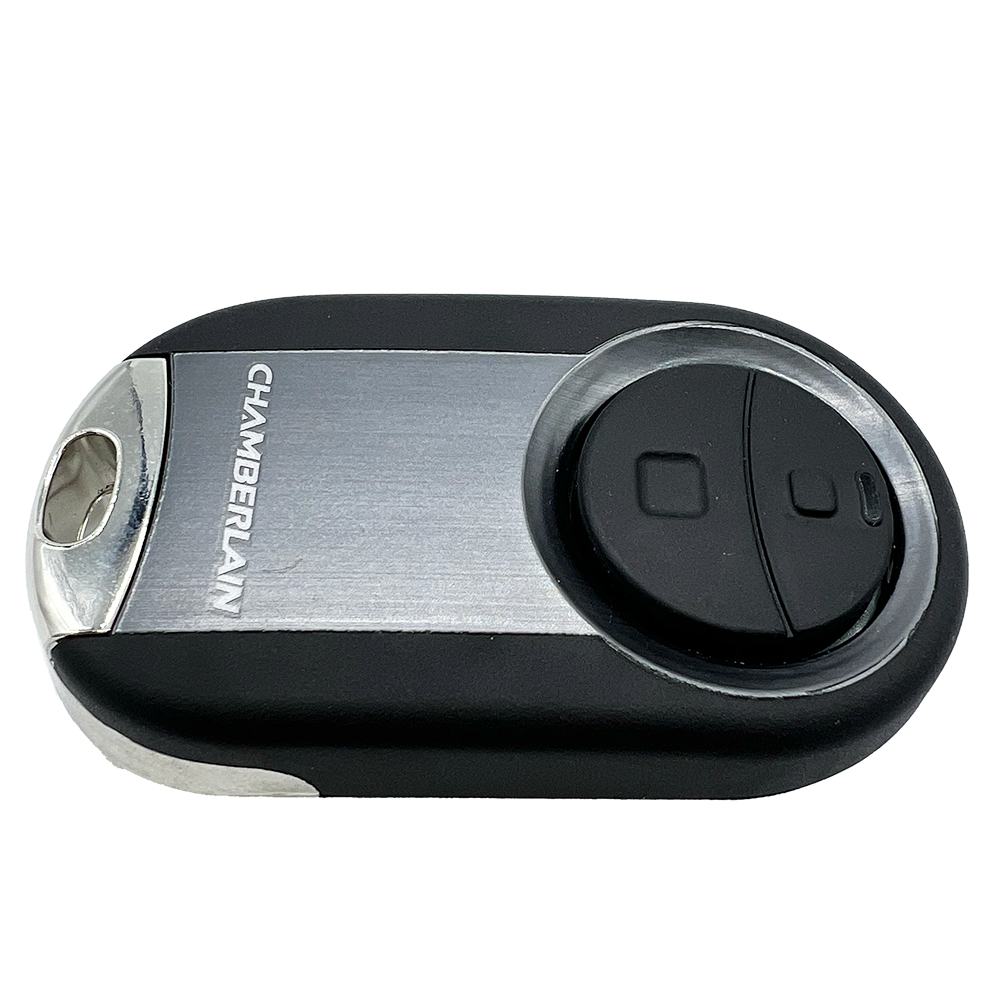
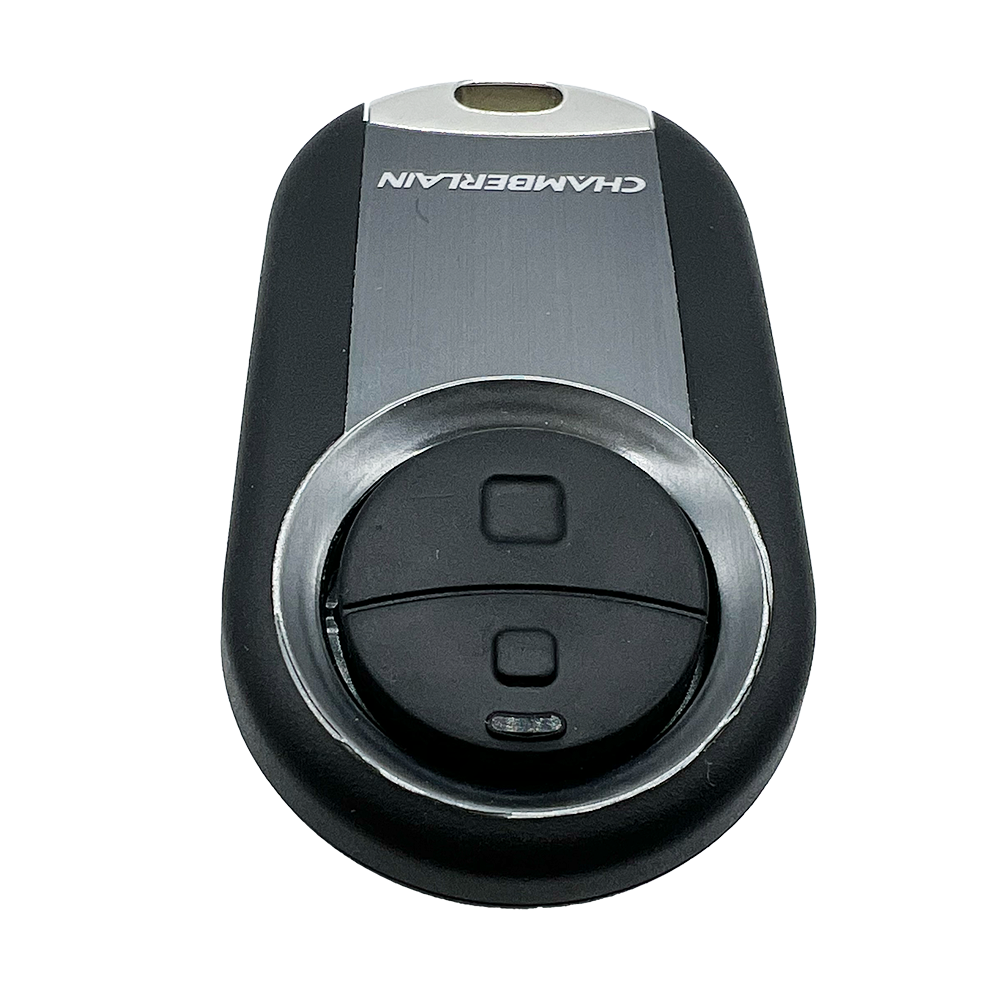
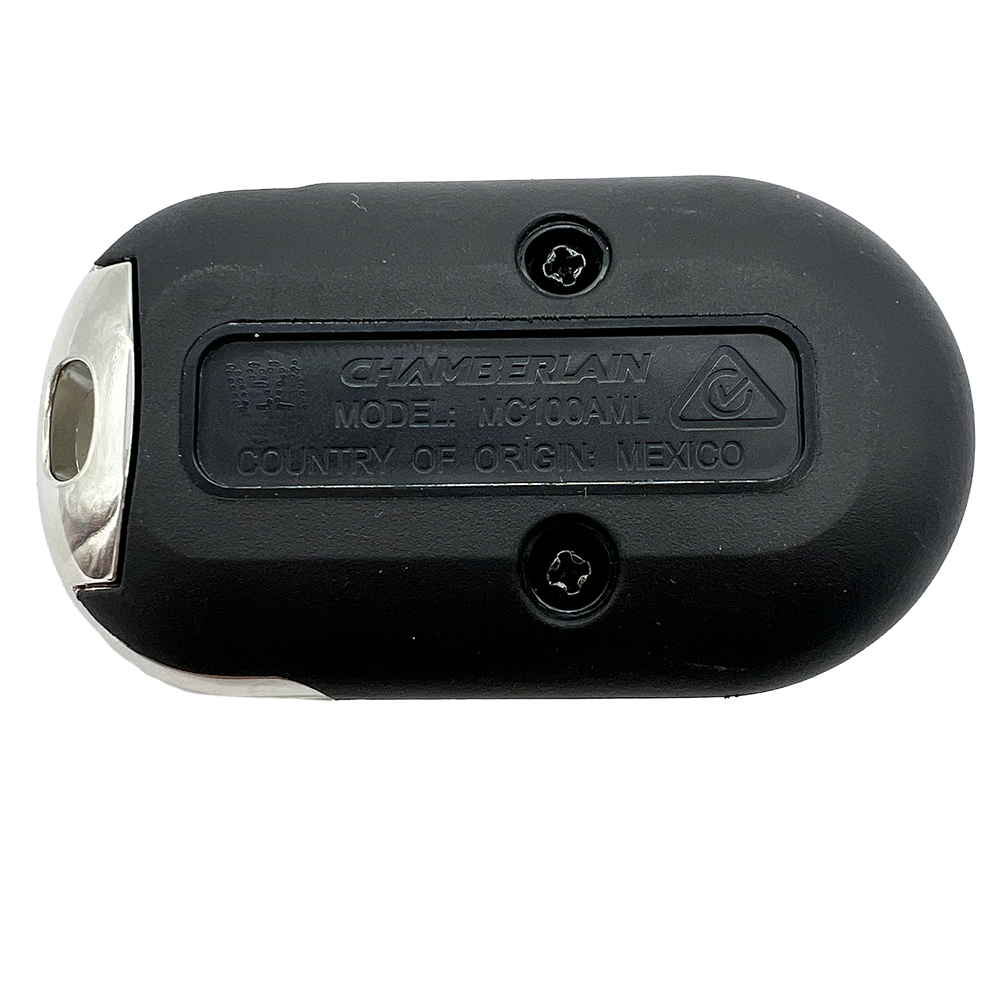
Chamberlain MC100AMLR Universal Remote

Brand: CHAMBERLAIN

Chamberlain Logo

Chamberlain MC100AMLR Universal Remote

Brand: CHAMBERLAIN

Chamberlain Logo

Includes:

  • Universal 2 Button Remote
  • Keyring attachment
  • Battery
  • Programming Instructions
  • 1 Year Manufacturers Warranty*
  • Free Shipping Australia-Wide*

$55.95

Availability:

In stock

Availability:

In stock

Includes:

  • Universal 2 Button Remote
  • Keyring attachment
  • Battery
  • Programming Instructions
  • 1 Year Manufacturers Warranty*
  • Free Shipping Australia-Wide*

Features:

  • Compatible with a large variety of Australian Branded Automated Garage Door
  • Activate two (2) compatible different brands on the one remote
  • Drop-proof design
  • Long battery life
  • Programs in seconds
  • Lightweight compact design
  • Blue LED indicator
  • Anti-Theft Protection

Includes:

  • Universal 2 Button Remote
  • Keyring attachment
  • Battery
  • Programming Instructions

The Chamberlain Universal remote control works with most major brands of Garage Door Openers in Australia.  This universal remote uses a searching learn function to find the correct manufacturers code for your opener.  The process in most instances is a 2 step process:  Remote Learning of Manufacturers code followed by programming the remote to the opener.  An addition feature is the ability to activate two (2) compatible different brands onto the one remote without the introduction of stand alone receivers – saving you time and money.

Compatibility:

ATA TrioCode Remotes (ie PTX2v1, PTX2v2, PTX5v1, PTX5v2, PTX6)

  • Tempo ATS-2
  • GDO6
  • GDO7
  • GDO8
  • GD09 Enduro
  • GDO9 Dynamo
  • GDO10
  • GDO11

ATA Securacode Remotes (PTX4)

  • GDO4
  • GDO5 (Securacode)
  • GDO6
  • GDO7
  • GDO8

Avanti

  • MPS6
  • MPS12
  • DPS12
  • T6-MPS
  • T8-MPS
  • T8-DPS

B&D TriTran (TriTranv2, TriTranv1, TB5, TB6, TB7)

  • CAD4
  • CAD5
  • CADP Diamond
  • CADP Diamond WQ
  • CAD Diamond PD
  • CAD Prodigy
  • CAD Advance
  • Firmamatic Shedmaster
  • SD03

B&D/ Chamberlain 433 (4335A, 4333A)

  • CAD4
  • CAD5
  • CADP
  • CADR
  • FAM4
  • FAM5
  • FAMR
  • EasyLifter 5
  • EasyLifter R
  • CAD P Diamond
  • CAD P Diamond WQ
  • CAD P Diamond PD

Boss/Guardian  (HT3 Red Button)

  • RD2
  • RD11
  • BOL6

Chamberlain (+)

  • HandyLift
  • HandyLift Plus
  • CR550
  • ML500
  • ML700
  • ML750
  • MLR500
  • MLR750

Chamberlain (Security +2.0)

  • Rollerlift
  • RollerLift Plus
  • HandyLift Plus 2.0
  • HandyLift Deluxe 2.0
  • HandyLift MyQ
  • HandLift Deluxe
  • SectionalLift
  • SecitionalLift PlusPowerLift
  • Powerlift Plus
  • PowerLift MyQ
  • PowerLift Lite

Herculift

  • RDO V6

HomEntry

  • HE60
  • HE60R
  • HERD01
  • HESD01

Merlin+ (C945, C943, C940, CM842)

  • MR60
  • MR600
  • MR800
  • MR650
  • MR850
  • MR1000
  • MT60
  • MT60P
  • MT600
  • MT800
  • MT1000
  • MT3820
  • M230T
  • CG3800
  • MJ3800
  • MT5580
  • MT5580P
  • MRC950

Merlin 2.0 (E945, E950, E960, E970, E980)

  • Commander Essential
  • Commander Elite
  • Commander Extreme
  • Commander Ultimate
  • EntryLift
  • PowerAce
  • TiltMaster
  • CyclonePro
  • Commander MyQ
  • SilentDrive
  • WeatherDrive
  • Silent Drive Elite MyQ
  • OverDrive
  • WhisperDrive

Merlin Green (M832, M842, M844)

  • ProLift
  • PowerLift 430R
  • 230T (Manufactured after 2001)

MotorLift

  • ML500
  • ML700
  • ML750
  • MLR500
  • MLR750

SteelLine

  • ST50EVOB
  • ST50EVOC
  • SR60
  • RD11

SuperLift

  • SDO 3 DC

Taurean

  • NOVA 1000

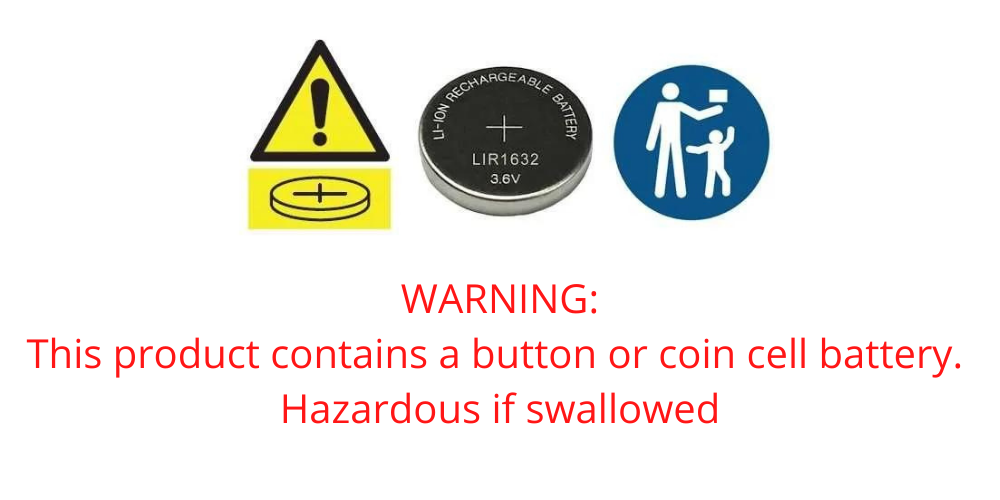
WARNING! KEEP BATTERIES OUT OF REACH OF CHILDREN. Never allow children to replace button batteries on any device. Swallowing or placing inside any part of the body may lead to severe or fatal injuries in as little as 2 hours or less due to chemical burns and potential perforation of the oesophagus.

If you suspect your child has swallowed a button battery or placed inside any part of the body immediately call the POISONS INFORMATION CENTRE on 13 11 26 for prompt advice. If your child is having any difficulty breathing, contact 000.

Dispose of used button/coin batteries immediately and safely. A battery can still be dangerous even when it can no longer operate the device. Place sticky tape around both sides of the battery and dispose of it immediately out of reach of children in an outside bin or recycle safely.

Please see button battery safety information from the Australian Competition & Consumer Commission (ACCC).

Weight0.03 kg
AS62368.1 Battery Compliant

Yes

Battery Technology

Lithium-Ion

Brand

CHAMBERLAIN

Type

Colour of Buttons

Black

Compatible Brand

Herculift, HomEntry, Taurean, ATA, Avanti, B&D, BOSS, CENTURION DOORS, Guardian, MERLIN, MOTORLIFT, Steel-Line, Superlift

Country/Region of Manufacture

Mexico

Features

Genuine, Keyring, Wireless

Frequency

433.92 MHz

Items Included

Battery, Installation Instructions, Keyring Attachment, Remote

Number of Buttons

Power Source

Battery Powered

Remote Colour

Black

Warranty

1 Year*

Frequency433.92Mhz
Code TypeRolling Code
Body TypeKey Ring
Number of Buttons2
Button ColourBlack
Case ColourBlack with Chrome
Remote Size60 x 33 x 14mm
Range< 40 meters
Item Contains Lithium Coin/Button BatteryYes
Battery TypeCR2032
Access TypeTool Required
AS62368.1 CompliantYes

This remote programs to your motor differently to other generic remotes as this remote runs through a searching process to find the correct manufacturers code for your opener.

Locating the Learn Button

The Learn button needs to be activated during the learning process in order for the remote to search for the correct manufacturers code.  The learn button may be labelled differently depending on your brand of remote.   Common names for the Learn button on your opener can be CODE, CODE SET, DOOR CODE, RADIO SET, S or similar.

  • Overhead openers usually have the Learn Button accessible at the back of the motor.
  • Rollerdoors are generally found at the base of the opener.

Refer to your Openers Owners manual if you are unsure. 

Programming Tips

When programming two doors at the one site, we recommend programming the TOP button first. This is to avoid accidentally operating a preprogrammed door. Alternatively turn off any preprogrammed doors.

The bottom button is the PROGRAMMING button and is the only button that can commence the programming sequence, irrespective of which button you choose to activate your opener.

The operate buttons require a firm press, this is to eliminate accidental activation due to mishandling the remote.

Programming your Remote to a Merlin/Chamberlain or Grifco +2.0 opener

  • Press & release the LEARN button on the opener
  • Press & release the remote button you wish to program.

Programming to ATA branded openers

Once the programming sequence has commended its important to continue from one step to another reasonably quickly.  Time between some steps is critical.

  • Start with your garage door closed.  Ensure that the door is clear of all obstructions
  • Press and hold the Bottom button on your NEW remote control (approx 15 seconds) until the blue LED stays ON solid (blue LED will remain ON for 60 seconds)
  • Press and Hold the DOOR CODE button on the garage door opener (Do not release the DOOR CODE button at this point).
  • Press and Release the remote control button you would like to program, the Blue LED will commence blinking for 12 seconds.
  • Once the Blue LED changes to solid, release the DOOR CODE button (immediately) then Press and Release remote button you are programming.
  • The Blue LED will begin flashing once every three seconds.  Wait until the door begins moving, immediately press the remote button again.

The coding process is now complete.

Programming the new remote to other openers from the compatibility list

Once the programming sequence has commenced it is important to continue from one step to another reasonably quickly. Time between steps is critical.

Start with your Garage door in the closed position.  Ensure that your garage door is clear of all obstructions.

  • Press and hold the bottom button on your NEW remote (for approx 15 seconds), the blue LED will stay ON solid
  • Press the LEARN button in your garage door for 2-3 seconds, then release it (see notes regarding Learn Button).
  • Immediately Press and Release the remote button on your NEW remote you wish to activate your garage door, Blue LED will commence blinking for 12 seconds
  • Once Blue LED changes to solid, immediately Press and Release the same button on the NEW remote again.
  • Your remote will now start to pair to the opener, during this pairing the remote control will begin to flash once every three seconds (up to around 60 seconds).
  • When the door begins moving, immediately (within 3 seconds) press and release the same button on the NEW remote again.

The learning process is now complete and your remote should now be programmed to the garage door opener.

Reviews

There are no reviews yet.

Only logged in customers who have purchased this product may leave a review.